08 December 2014

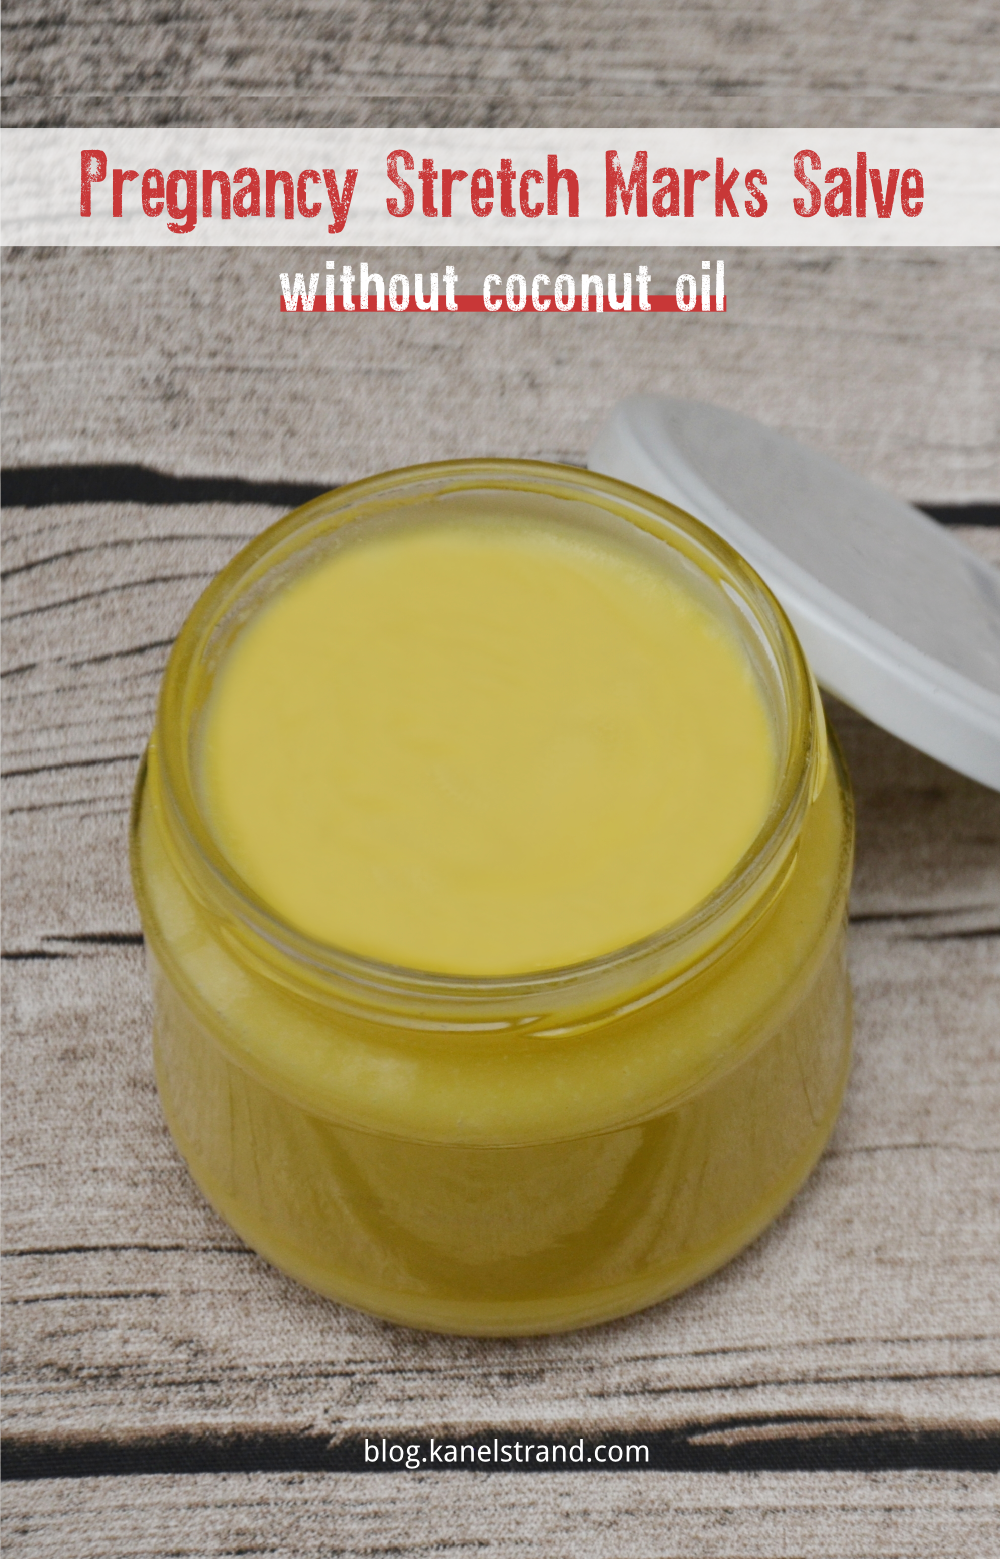
Homemade Salve to Prevent and Treat Pregnancy Stretch Marks (Without Coconut Oil)

Pregnancy is a wonderful time in a woman's life, isn't it. It gives us the time to recollect, plan ahead, simplify and focus our lives on a something higher than our well-being, that of another person. During that time of preparation women grow – mentally, spiritually and physically.

Today I want to address the physical growth of pregnancy; although beautiful, natural and glowing, it often has a negative effect on our self-esteem later in life. The growth of our bellies, breasts and thighs sometimes leads to the appearance of stretch marks.

Based on a my detailed research, I created the most effective natural salve that will prevent and treat stretch marks. As with all things I share on this blog, the stretch mark salve is rather simple and will take no more than 15 minutes to prepare.

Before I let you know the full recipe, let me remind you that each type of skin is different but no matter how susceptible yours is to stretch marks it is very important that you keep yourself hydrated and eat a lot of fresh vegetables and fruits, as well as fish high in Omega-3.


No to Coconut Oil

For this stretch marks salve I am not using coconut oil, regardless of the number of praises I've heard and read about it, the reason being that for people with very dry skin coconut oil is not moisturizing enough. Actually, I experienced this effect on my lips last winter when I used my homemade lemon lip balm which included coconut oil and wondered why the hydration wasn't as expected.

As discussed in Skin Care Talk, coconut oil is made up of glycerol esters of shorter-chain fatty acids, mostly lauric acid (about 47%). Lauric acid has 12 carbon atoms compared to 18 carbons in stearic acid, a common component of most fats and oils. Other major components are 8, 10, and 14 carbon fatty acids. This makes coconut oil a lot different than most other oils.

Coconut oil obtains some very special benefits for your skin from these shorter-chain fatty acids, very nourishing and healing, in part because they penetrate skin very well. What they don't do well is stay on top to form a moisture seal on your skin. Some folks would interpret this as "drying."

Also, coconut oil is considered to be fairly comodogenic, so if you have a tendency to get clogged pores (blackheads, etc), coconut oil might exacerbate that problem. To stay away from any possible harm, I left out the coconut oil this time.

Yes to Aloe Vera and Wheat Germ Oil
Aloe Vera gel is effective in the treatment of many skin problems. It has various essential nutrients and active compounds that can be used in the treatment of minor burns and acne scars. Basically if there is a skin disease chances are that Aloe Vera can help with it. Its healing and soothing properties can be used to get rid of stretch marks as well.

Wheat germ oil aids the regeneration of the natural processes of the skin. It nourishes the skin and heals and preserves it. Its antioxidant properties prevent all sorts of tissue damage and builds collagen.

Wheat germ is a "true carrier" oil, as it has the ability to travel through the epidermis into the dermis where the actual stretching occurs. It carries the regenerating oils or Aloe Vera it is combined with into the dermis feeding new skin cells as they travel up to the epidermis.

According to a study published in Pharmacognosy Research titled Comparative measurement of hydration effects of herbal moisturizers the combination between wheat germ oil and Aloe Vera extract produces the highest hydration effect on the skin, due to their synergistic effect. Wheat germ oil or Aloe extract, when present separately produces skin hydration to lesser extent.

Yes to Calendula Infused Olive Oil
According to the same study in Pharmacognosy Research, second in rank in terms of skin hydration is the combination of Aloe Vera extract and olive oil.

It is worth noting that when oil is added to a hydrating salve, the effect is increased as it forms an occlusive layer on the skin and prevents loss of moisturizer. In general, when applied to skin, the vegetable oils are easily absorbed and show great spreadability.

In my stretch mark salve recipe I use calendula infused olive oil because calendula is known to have gentle, cooling, and soothing properties. Calendula oil is the most successful oil for assisting with dry and damaged skin, skin inflammations, rashes, diaper irritations, and other skin disorders. It makes a wonderful baby’s oil and is exceptional for those with sensitive skin.

An easy and quick way to infuse olive oil with calendula is to fill a clean, dry glass jar with dried calendula flower heads, then cover with olive oil. Put in a double boiler on the stove top and warm over low heat at approximately 100 degrees F (40 degrees Celsius) for at least 4-6 hours. Once the oil has infused, strain out the herbs using cheesecloth and pour the infused oil into glass bottles, date and store in a cool, dark cupboard. Add a few drops of liquid vitamin E which will act as a preservative and will be an added bonus for all skin recipes you'll use it in. Use it up within a year.

* * *

Pregnancy Stretch Marks Salve


Ingredients
Equal amounts of:
  • cocoa butter 
  • pure Aloe Vera gel
  • wheat germ oil
  • calendula infused olive oil
I use 100 g / 3.50 oz of each, which is usually enough for 2 months.
Method
Melt the cocoa butter in a double boiler.

In the meantime combine the other ingredients and stir well. Add the warm cocoa butter, stir.

If you dislike the calendula smell you can add a few drops of essential oil of your choice.

Pour in a clean glass jar and let cool. The stretch mark salve will harden at lower temperatures but it will quickly soften by the heat of your fingers and palms before applying.

* * *

And that's it. A pregnancy stretch mark salve cannot get any easier but that doesn't make it unreliable. Backed with serious scientific research, this is the most moisturizing natural homemade salve you can use to prevent or treat stretch marks.

Start applying the stretch marks salve as soon as possible, i.e. once you start seeing your belly grow. Apply on your belly, breasts, and thighs – these are the areas most prone to stretch marks.

Massage the salve gently into the skin and allow about 20 minutes before
getting dressed. It is best to make this a daily ritual after taking a
shower to lock even more moisture in your skin.

Sources:

20 October 2014

Guilt-Free Creative Living in the Rhythm of the Seasons

Summer is for living, fall is for reflecting, that is the lesson I learned in the past months. I spent the summer traveling, meeting people, running on hot sands and jumping over waves.

The feeling of guilt for not blogging was following me everywhere I went and the more time passed by, the less inclined I felt to write. Have you felt the same too?

Don't resist
On some days, my head was exploding by the thought that I could not collect myself and write a single post, on others I blamed myself for not taking pictures to update my etsy shop, but I refused to give in to the guilt. Instead, I chose not to resist.

You see, I believe in not resisting; if a creative urge comes, I succumb and try to live it as fully as possible. So, in this case, the urge was to live in the moment. For the first time in three years I stopped blogging and for the first time in more than ten years I left my camera at home. If you are a blogger you will understand what an effort that was. If you are a photographer, maybe you will be appalled.

But guilt has never led anyone to good decisions. Actually, being guilt prone is only ruining your life. Psychologist Guy Winch advises to try to define if the signal of guilt is real or not, then to identify if you are really doing something wrong and if the message is false to ignore it.

With my feeling of guilt identified as faulty, I simply decided to trust the rhythm.

Trust the Rhythm

Trust the rhythm
Trusting the rhythm of my emotions is very much connected to trusting the rhythm of the seasons. I believe that every creative person is influenced by the natural world, and the changing of seasons. So, instead of trying to follow a strict regime of creating – be it writing, painting, photographing or sculpting – you might want to listen to your urges, stop feeling guilty and enjoy a detour on the your creative path.

Summer is a vibrant season. Instead of shutting yourself off from the world, go outside and be part of it. Even if that means you have to stop what you're doing.

Feeling guilty is so out of the question in this situation because even when you are not literally crafting or creating, the impressions and the change in activities will charge you up for your next endeavors.

Trying to follow a routine regardless of season will only make you feel stuck and sooner or later your creativity will perish because of the pressure you put on yourself.

So, you know how everything in nature evolves and follows an up-and-down curve? It's quite the same with us, our emotions and our creativity.

If we accept that summer is the season for living outside, then fall is the perfect season for reflecting on all that we lived through and employing it in our creative process. Then comes winter, when held indoor by cooler temperatures our reflections deepen and we have enough time to create an to live in the virtual world of our thoughts, followed by an awakening in spring and new creative juices.

Don't push yourself, follow the natural rhythm of the seasons and breathe.

breathe

Breathe
Breathe in – breathe out;
work – rest;
create – collect impressions;
day – night...

It's as simple as that. Don't push yourself. Try to understand and respect your rhythm instead, as you do the rhythm of nature. Allow yourself time to rest and time to be active. Keep this dynamic balance alive and your creativity will flourish.

Now it's your turn: Have you gone through long periods of burn-out and how have you dealt with them? Leave your reply in the comments below.

03 July 2014

The Photographer's Connection to Nature

When I planned buying a macro lens (and that took quite a few years) I was sure I would never shoot bugs. Not that I wasn't interested in them but I thought there were enough male photographers doing that already, plus I couldn't figure out how I would include them in my surreal photography.

But as the saying goes: Never say never.

What do you think happened on my first official "macro" walk? I shot mostly bugs and I was actually impressed about the way I handled them.

The Photographer's Connection to Nature

I thought it would be extremely hard to make them stand still but some of them even cooperated. For example, this blue guy was flying very frantically, but impressed by his color (why did I decide it was a male?) I waited for him to calm down until he landed on a leaf and stared right at me while I was getting closer and closer.


Then, in a magical moment of connection between a human and an insect he stood still until I managed to focus on his eyes. We stood there, hanging in the moment, while I was pressing the shutter-release button, making sure I have a few of his poses to choose from. I thanked him and I left happy by this divine communication.

See, this is one of the most important things I love about photography. When I am alone in the wild, I am able to hear and see more than in the town. I feel connected on a level that is more powerful than words. The magic of art, of reconnection, of listening to your heart...

Whatever it is, thank you, Nature for sharing your beauty (and bugs) with me.

27 June 2014

How The Moon Was Born

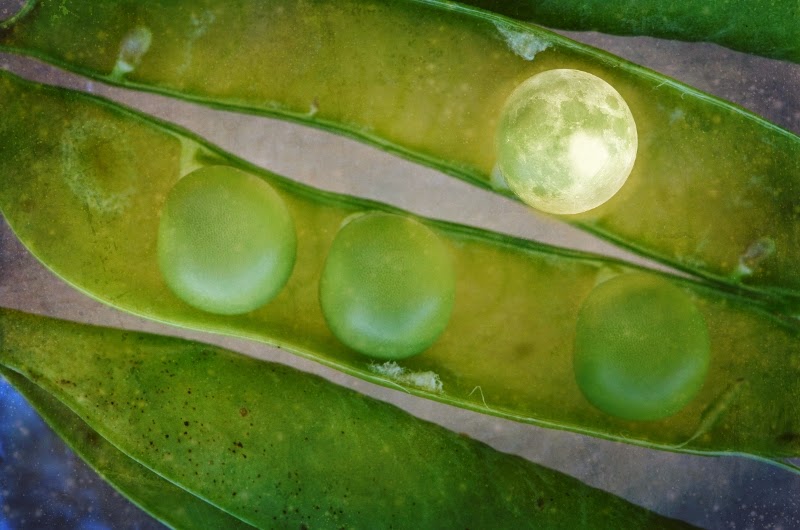
Astronomers have been trying to find out how the moon was born for ages. Why didn't they ask me? The moon was born in a pea pod. I even have evidence:

How The Moon Was Born

Take note of the gentle halo and the way the sister peas are reflecting the moonlight.

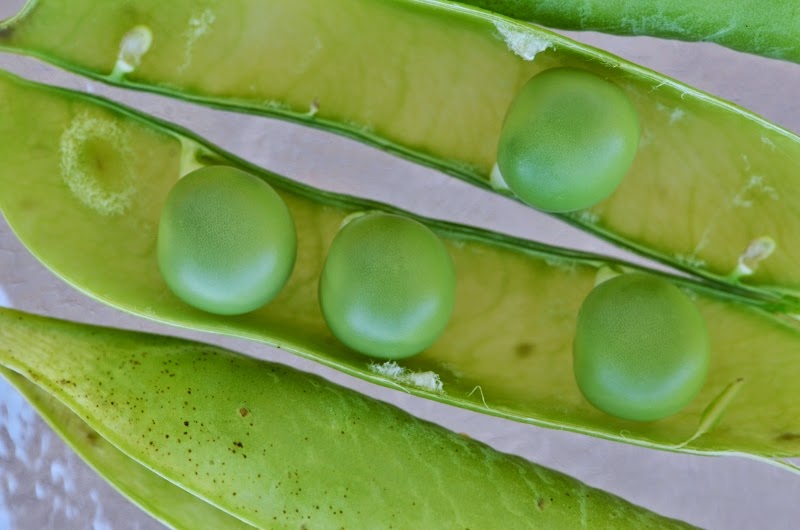
This photo comes as the answer to a question I posted a couple of days ago on Google Plus. Let me know what you think and if you expected such a development for the original photo. If you haven't seen it, here it is.


You can buy this original surreal artwork while it's hot and sizzling on Fine Art America. For all Kanelstrand readers I created a discount code CYRCTU which will give you 15% off. The code is active until November 17th.

Art Prints

25 June 2014

Cherry Tomatoes: Macro Shots

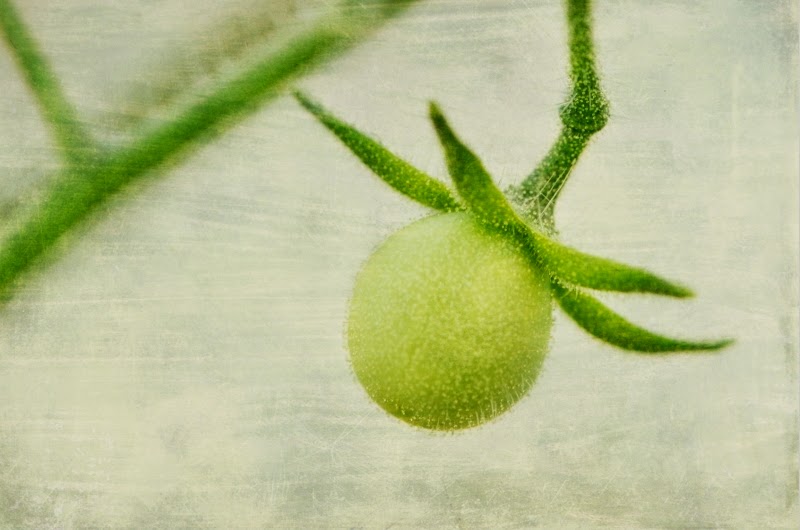
This year I entered the realm of tomato planting. It is a world of gentle touches and delicate aromas. I've been watching my plants grow, expand and bloom. And the time came for the first very tiny and still green cherry tomatoes. They are almost as big as peas.


cherry tomato

Armed with my new macro lens AF-S VR Micro-Nikkor 105mm f/2.8G IF-ED I am spending a good amount of time around my plants each morning to take their portraits, up-close and personal.

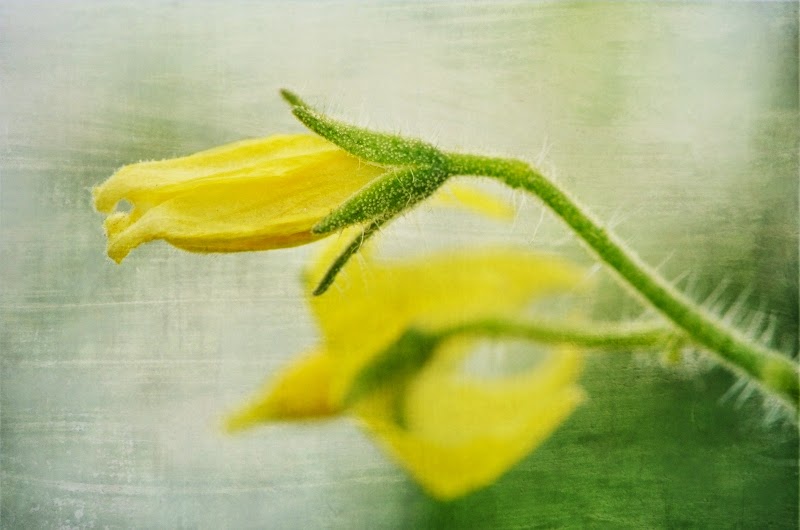
cherry tomato blooms

Happy Wednesday to all of you, cherry lovers out there.

10 June 2014

Photographer in the Kitchen: Making Cherry Jam


Each summer, when I was a kid, I used to spend in our summer house. We had a small garden tended by my grandfather and, of course, apart from eating fresh produce each summer, I was helping with the preserves, as much as a kid can help.

I look back to these moments with joy and love because they carry with them the feeling of unity with my family - unconscious but strong, the smell of burning wood on a long summer evening, the sight of vegetables and fruits cut in precise pieces, clean glass jars waiting to be filled up.

I considered this summer ritual as one of the things I had to do, not a chore by any means but something as fun as playing. At that time I didn't have a camera but my memories are so vivid that I still see my grandparents around the working table.

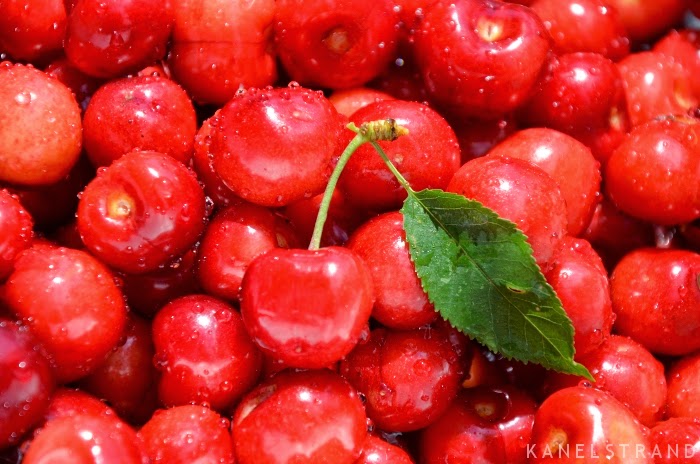
Freshly picked cherries by Kanelstrand
I picked about 5 kg of cherries yesterday, and here it is -- the right moment for my first ever cherry jam.

Cherry Jam Recipe
  • 1 kg cherries
  • 1/2 kg sugar + some vanilla
  • 1,5 teaspoon citric acid per kg fruit
  • glass jars - clean, dry and warm (I warm my up in the oven)

My grandmother used to add 1 kg of sugar to each kg of cherries but I am tweaking this recipe a bit and adding less sugar, so the taste of the cherries comes up and the jam is lighter on sugar.

It took me about 3 hours to de-stone the cherries last night and afterwards I covered them in white crystal sugar to which I added some vanilla. I left them overnight and in the morning I put them in a deep pot and let them boil. The sugar had made the juices of the cherries come out, which is vital for the boiling afterwards.

Photographer in the Kitchen: Making Cherry Jam

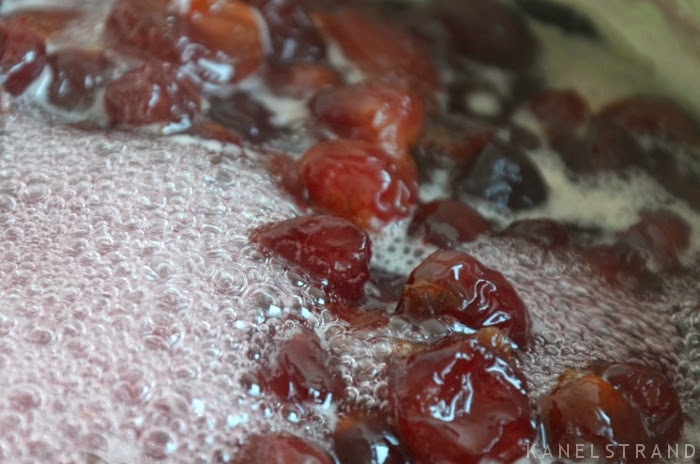
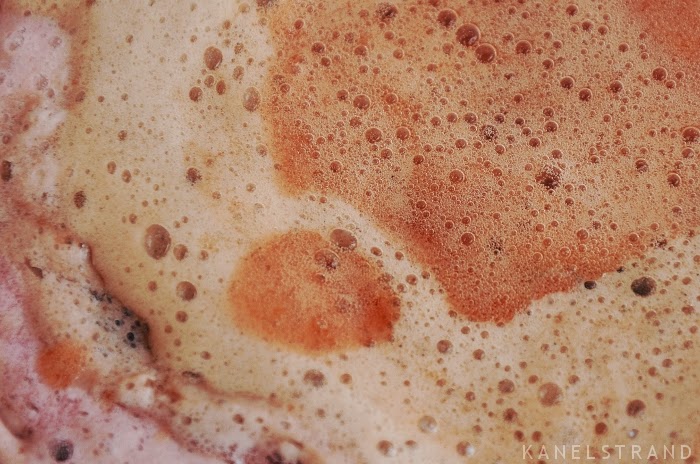
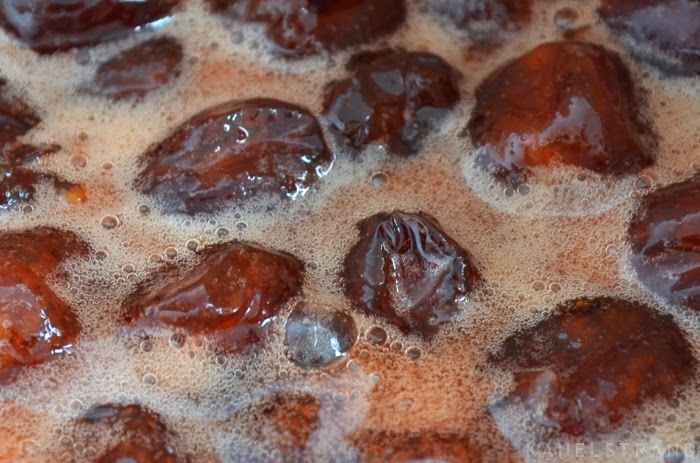
After the initial boil the cherries start producing a kind of thick foam which I am skimming with a slotted spoon.

Making a cherry jam - skim the foam
Here I have photographed the layers of foam I have skimmed from the boiling cherries so far. Notice the way the colors are changing and flowing into one another.

And now, the jam is 2 hours in the boiling and reducing. The smell is gorgeous and I am excited.

I will keep on boiling on low heat until a drop of jam falls comfortably to the bottom of a glass of water retaining its shape. Then, I will add 1,5 teaspoons of citric acid to each kilogram of cherries (in my case, it's 1,5 x 5 = 7,5 teaspoons).


By the way, I have a habit of reusing the jars I buy from the grocery store, so I have a bunch of different ones waiting to be filled. I will pop them in the oven for 15 minutes to warm them up before filling. Afterwards, I will spoon the warm jam in and let them cool turned on their caps to make a good vacuum.

Question: Should I add orange juice to enhance the flavor? Let me know quick before I'm done with this first batch of cherry jam ever.


06 June 2014

Street Art in Belgrade, Serbia

A week ago I came back from a short trip to Belgrade, Serbia's capital. This was my first time visiting the "White City" and I was in awe by the hospitality of its people, by the tasty food behind each corner and by the beauty of its architecture.

But instead of  boring you with touristic information, today I choose to show you the street art of Belgrade - decadent, naive and downright creative.


28 May 2014

How to Enjoy Clouds


They were moving so fast across the deep blue sky. The air currents up high were pushing the white fluffy clouds with the deliberation of a shepherd hurrying to get his flock away from a rain storm.

On a hot afternoon 30 years ago today I sat in front of our house, facing the sky, mesmerized by the transformations and the speed of clouds. I think I sat there for hours. The clouds were beautiful and they let me fantasize about what it was to sit up there.

And I can do that still. How about you?

I can lie down on the warm grass and look at the sky, follow the clouds' routes and imagine what it is to walk on them. I am even more delighted when I'm in an airplane and have the chance to peek "behind the scenes" of the life of clouds.

How to Enjoy Clouds

But looking is not the only thing I do, I photograph them. Although I have little knowledge about their types and names, clouds have been an inspiration for my artworks for a good 5 years now.

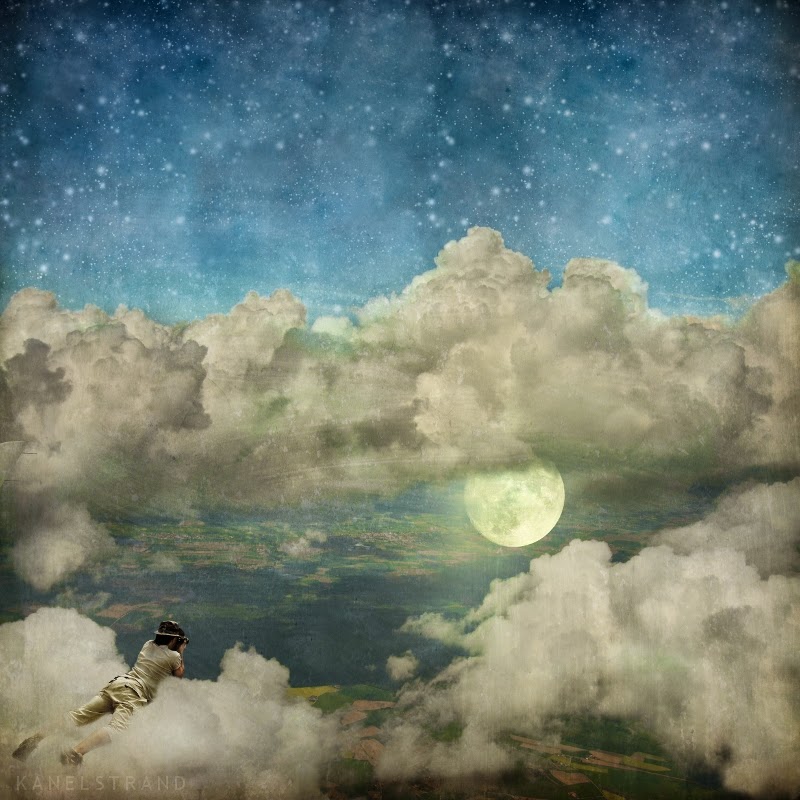
The following cloud image was selected as one of the TOP TEN altered images according to Smithsonian Mag for 2013.

How to Enjoy Clouds

Although they get some really bad publicity, clouds can be an invaluable source of inspiration for the people who are willing to see.


"Clouds are so commonplace that their beauty is often overlooked. They are for dreamers and their contemplation benefits the soul. Indeed, all who consider the shapes they see in them will save on psychoanalysis bills." Source.

"Clouds are so commonplace that their beauty is often overlooked. They are for dreamers and their contemplation benefits the soul. Indeed, all who consider the shapes they see in them will save on psychoanalysis bills."

If you are still not sure that you can enjoy clouds the following 7 steps might be of help.

1. Learn to look up often.

How many times a day do you look up into the sky? My sister recently shared with me her surprise at how just a few people ever looked up. I think there is a common belief that only dreamers have the time for it but why not be one? Why not take your life one day at a time and find time to actually stop and stare high up into the sky. You will see a different universe above that will amaze you - you know - birds, trees, clouds that are always different... If you are persistent you will notice that you develop the ability for dreaming. And this is a good thing for sure.


2. Wait for the sunset.
The clouds are most beautiful at sunset. Not only do they get romantic shades and warm colors but because the sunlight is low, it gives them a totally different, other-worldly dimension.

Now turn your back to the setting sun and look to the east. Do you notice how the colors change? They are more into the blues and violets, and purples. Do you realize that all this parade of colors and fluffy cloud shapes is there just for you?

3. Designate cloud watching time.
Make sure you spend at least 5 minutes a day looking at clouds. It could be in your lunch break, or when your kids are taking their afternoon nap. You can find 5 minutes for quiet, peaceful observation of the clouds in the sky, be they soft and white or grey, stormy ones.

In the beginning you might feel ridiculous spending time for cloud watching but if you manage to keep that routine for 10 days you will realize that it has become part of your YOU time, and you feel calm and relaxed and are actually looking forward to these 5 minutes.

4. Become a member of The Cloud Appreciation Society.
When I heard of The Cloud Appreciation Society in 2012 I was ecstatic. I could hardly imagine a more appropriate society to be a member of! So, why don't you try it yourself? The Cloud Appreciation Society currently has 35,301 members from all over the world, so you can connect to many interesting people, who are interested by clouds.

It is easy to love clouds when you have company. The members of the society photograph and post cloud photos daily and you will truly be blown away at the visual display on the sky all over the world.

5. Challenge yourself.
Challenge yourself to find something special even in the most boring clouds you see. This is an exercise in imagination and you will soon feel its effect on you. You'll thank me later.

6. Photograph clouds. 
I've noticed that using photography as an excuse to do anything can make me more responsible. You can start a visual project by photographing clouds each day in your designated 5 minutes. That will help your creativity, which in turn will clear your head, help you overcome any mild depression or simply bad mood. Life seems brighter when you have a purpose.

It is worth noting that you don't need fancy equipment and you need not question the quality of your photographs. You can use your phone, simple as that. If you are more adventurous, why not upload your photos to flickr, instagram, or any social media. By the way, Twitter has been hailed as the newest place for photos.

7. Use cloud spotting as a digital detox.
As Gavin Pretor-Pinney, the founder of The Cloud Appreciation Society writes in a CNN article,
"Finding shapes in the clouds is an aimless, carefree pastime that we adults should also do more of. The digital age conspires to make us feel busier than ever. Cloudspotting, by contrast, is an activity that legitimizes doing nothing.

These days, we need excuses to do nothing. Happiness comes not from a desperate search for stimulation elsewhere but from finding what is intriguing, surprising and "exotic" in the everyday stuff around us. You don't need to cross the world to be amazed. You just need to step outside and look up, every now and then, as if you are seeing the sky for the first time."
Take a step back and allow yourself a daydream. The clouds above you are waiting for you to discover them and use them to your own creativity.


26 May 2014

Dark Fairytales by Mario Sanchez Nevado

Mario Sanchez Nevado is an independent visual artist, living in Madrid, Spain. For more than a decade he's been illustrating and designing for music bands and publishing houses.

He creates some of the most mind-blowing surreal artworks of the digital era, but it's his sensitive approach to storytelling that makes his style a unique emotional experience.

+Mario Sánchez Nevado has an eye for mathematical composition, color psychology and visual narratives. In his artworks he usually combines photo manipulation and digital painting to achieve his distinctive aesthetics.

Besides his passion for all things creative (that gets shaded by surrealism, fantasy, sometimes political messages, and other, dark atmospheres), he is directing the international artistic collective Hysterical Minds, as well as writing advanced user tutorials for digital photo manipulation.


Betrayal by Mario Sanchez Nevado

Deep by Mario Sanchez Nevado

Delirium by Mario Sanchez Nevado

Patience by Mario Sanchez Nevado

Silence by Mario Sanchez Nevado

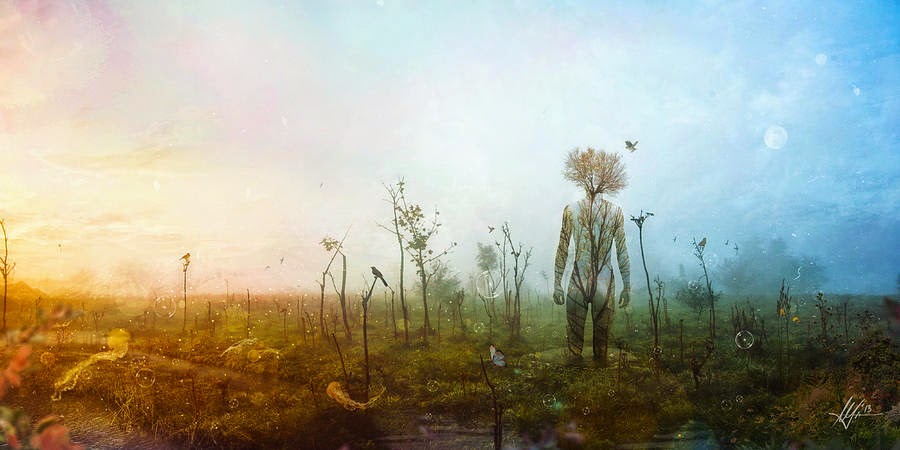
Internal Landscapes by Mario Sanchez Nevado

The Uninspired by Mario Sanchez Nevado


24 May 2014

Simple LIving Rabbit: Time for a Wash

Sometimes Muffin Rabbit couldn't care less about the mud in the garden. He's hiding underneath the leaves of the cucumbers or in the peppers bed, running around or digging. But then his feet get all muddy and it's time for a wash.


Read more about the adventures of Muffin, the simple living rabbit.

17 May 2014

Simple LIving Rabbit: On the Beach

It's time to go to the beach. Muffin Rabbit enjoys digging in the sand. Maybe he's building his summer residence.


Read more about the adventures of Muffin, the simple living rabbit.

10 May 2014

Simple Living Rabbit: Beyond the Raindrops

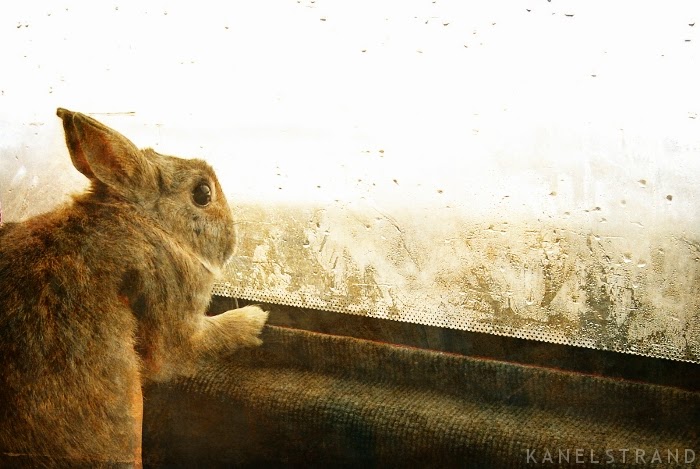
On a dark rainy we are on the road. Muffin Rabbit is peeking through the misty window, trying to figure out what's outside. He's an experienced traveler.


Read more about the adventures of Muffin, the simple living rabbit.

03 May 2014

Simple Living Rabbit: The First Walk Around Town

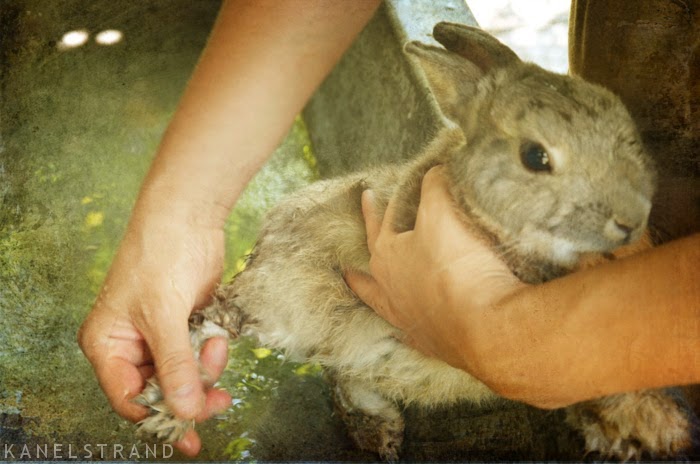
This photo was taken on the first day we met Muffin Rabbit and decided to make him a part of our family. He chose my hood for the walk around town. Now that I know him better, I wonder why he didn't wet me all over. Pure luck.


Read more about the adventures of Muffin, the simple living rabbit.

28 April 2014

On the Joy of Handmade with Lisa Jordan

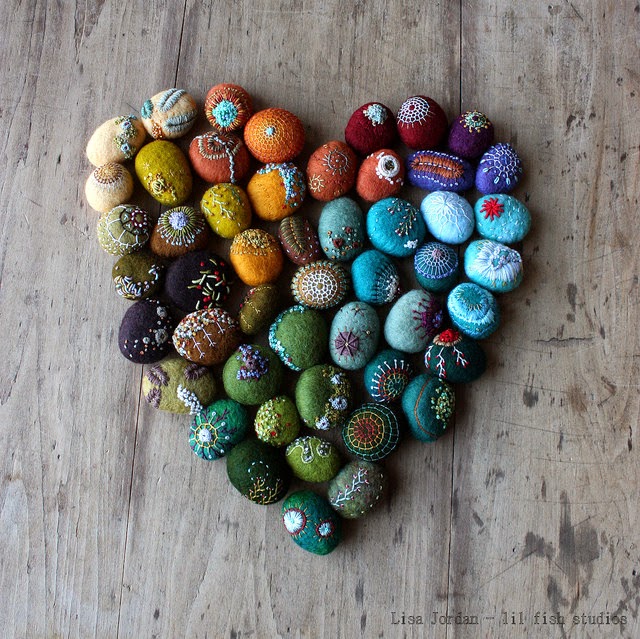
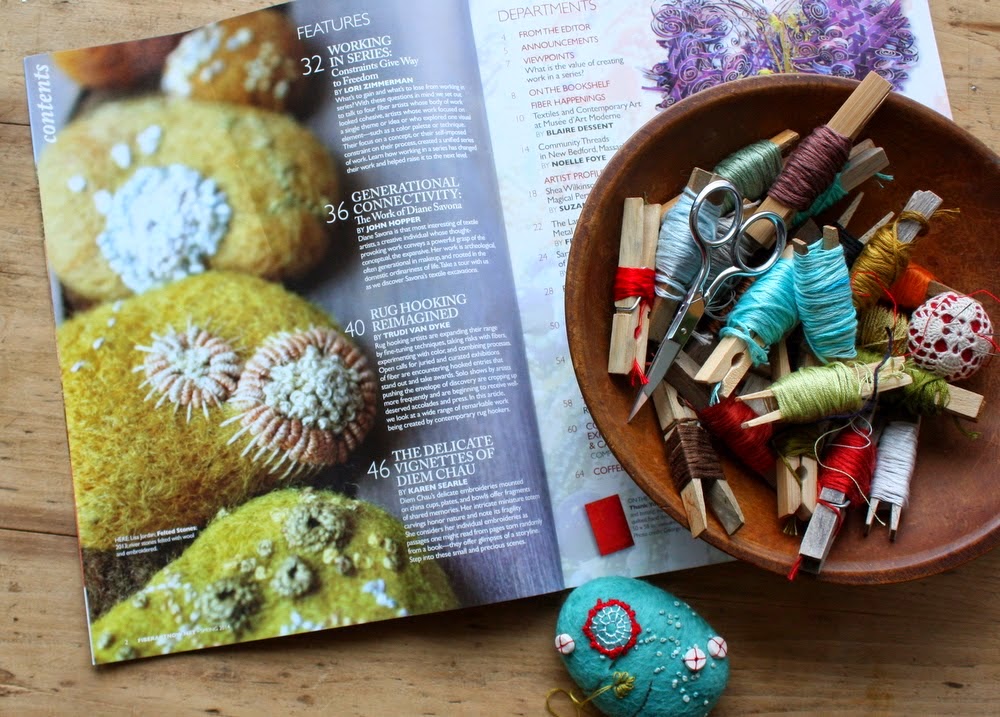
In today's edition of our handmade interviews I'd like you to meet Lisa Jordan, a very inspiring wool artist living the rural life in the woods of Minnesota. She creates art that reflects the variety of textures and colors around her. The tiny worlds of fungi, moss, and lichens are particularly intriguing to her. Lisa uses primarily recycled and natural materials in her work, especially wool and wood.

Lisa Jordan

Apart from making intricate designs out of felted wool, Lisa shares her creative process, inspiration and daily musings on her blog, Lil Fish Studios.

How did you start crafting?
I can’t remember a time when my hands weren’t busy making something, but about 8 years ago I left the corporate world to raise my children, and at about the same time I discovered the joy of working with wool. I’ve been hooked ever since.

Why are you passionate about handmade?
I think the act of making something by hand, whether a scarf, a pie, whatever, is a loving act. Pieces made by hand have the maker’s story woven in them; they’re personal, and I value that connection. 

Felted stones by Lisa Jordan

How and where do you sell your products? 
I am incredibly lucky that through the years I have connected with “my people”… people who read my blog and who really “get” where it is I’m coming from in my work.  When I have pieces to sell, I do so mostly through my online shop.  I also participate as an Art-o-mat artist and some of my small pieces appear in Art-o-mat machines around the United States.

How much influenced do you get by the Internet in your creativity?
I see work online often that I think is thought-provoking or beautiful or clever and it makes me feel the urge to get up and do my work.  I can’t say I find my inspiration in the pieces themselves, as I’m at a point in my creative process where I’m focused on translating my own thoughts on nature to wool, but seeing others being creative makes me appreciate how incredible and varied we are, and makes me want to join in the fun.

On the Joy of Handmade with Lisa Jordan

Do you remember the first time you held a magazine your work was featured in? What was the feeling? 
I do!  I had made some gift tags out of old sewing patterns and CRAFT put a little picture of them in their magazine and sent me a t-shirt.  I was beyond excited then, and still get a thrill when something of mine shows up in print.  That will never become old hat for me. (and I still have the t-shirt)

On the Joy of Handmade with Lisa Jordan

How is your family involved in what you do? 
My young children love to sit down and needle-felt with me or stitch stones, and can point out many natural dyestuffs when we’re out for walks in the woods.  My husband will sometimes cards wool for me and good-naturedly deals with bowls of stones and bins of fiber crowding the dining room table.  Our life here together under poplar and pine is integral to how I relate to nature and without it, my work would be very different.

If someone wrote a biography about you, what do you think the title should be?  “Crafting a Life Under Poplar and Pine”  it’s my blog tagline and a reminder for me that I’m crafting this life, not just along for the ride.


If you had six months with no obligations or financial constraints, what would you do with the time?
That’s a difficult scenario to imagine, but I suppose I’d do less “doing” and more “being”. 

What does "being creative" mean to you?
It means valuing the process and result of self-expression, and that can come in many forms.


What advice do you have for people wanting to be more creative?
Stop thinking that you aren’t, and open your eyes to the ways in which you are.  I hear so many times from people who say “I’m just not that creative” because they’re comparing themselves to someone else, and that’s not fair.  Everyone comes from a different place, and has different stories.  Take joy in exploring yours.  

Connect to LIsa:
blog | shop | facebook | twitter | pinterest | flickr

26 April 2014

Simple Living Rabbit: In the Pocket

When he was a baby Muffin Rabbit went everywhere with me. He even hopped into my pants pocket once and that's how I took him to the beach.


Read more about the adventures of Muffin, the simple living rabbit.

24 April 2014

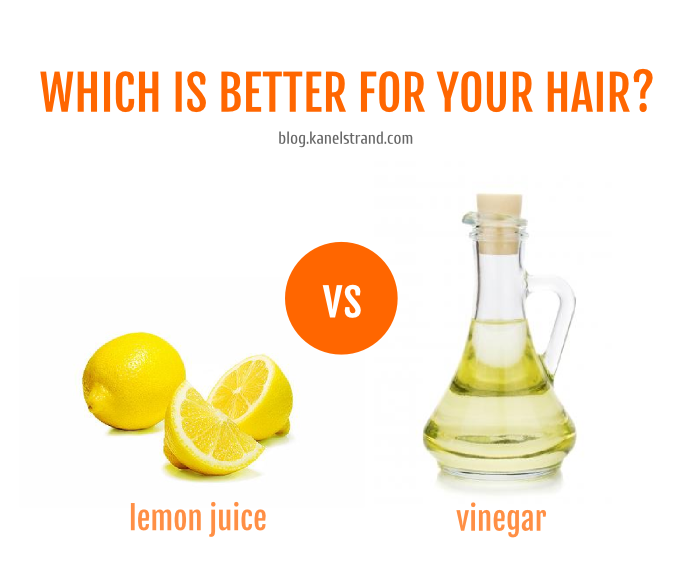
Which is Better for Hair: Lemon Juice or Vinegar?

In the three years that I've been no-pooing it was a habit of mine to replace hair conditioner with apple cider vinegar. I knew that some people used lemon juice instead of vinegar but because vinegar gave me great results I never tried lemon.

Which is better for your hair- lemon juice or vinegar based on pH

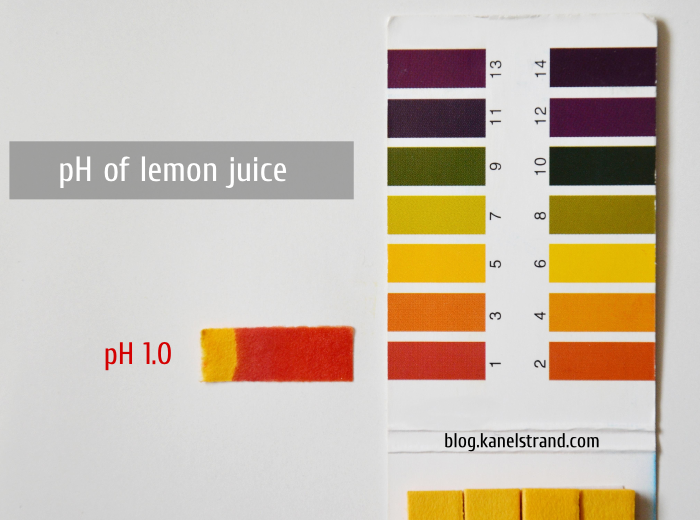
A few days ago Kanelstrand reader +glittermoongdes asked me to test the pH of lemon juice and see if it can safely be used instead of vinegar.


Which reminds me, if you still haven't read my post about how baking soda destroyed my hair, please do so.

And if you are doing the same to your hair, you are killing it slowly. Stop immediately.

Why pH matters?

Hair and skin are covered by a very thin fluid layer comprised of oil, salt and water, called the mantle, which is slightly acidic and has a pH balance of between 4.5 - 5.0.

This natural acidity of the hair and scalp prevents fungi and bacteria, and keeps the cuticle closed and healthy. If your haircare routine is too alkali your hair cuticles will stay open and your hair will be dry and brittle. But if you use pH balanced products, i.e. ones that are close to the natural pH of the hair (4.5 - 5.0) your hair cuticles will close properly which will result in healthy shiny hair.


But what's the case with vinegar/lemon juice? 

After an extensive research I am positive that vinegar and lemon juice are used interchangeably, and mostly depending on personal preference.

Both vinegar and lemon have long been used to make hair silky and lustrous. They work to restore luster by removing build up from other hair products. The acidity of vinegar and lemon juice leaves hair smooth and silky and detangles your hair. They fight dandruff and improve scalp health. They also stimulate the scalp and promote hair growth. Depending on your hair type, you may want to use a vinegar/lemon rinse once a week, or as often as three times a week.

Before I continue with the actual measuring of the pH let me explain that vinegar (as well as lemon juice) is a dilute acid that can be made more dilute using water, it can be neutralized using a base, but it cannot be made into a base. The term "pH" stands for "potential hydrogen" -- which means that the more free-floating hydrogen ions in a solution, the more acidic the solution is. Vinegar's pH will always remain at a number lower than neutral, no matter how dilute it is, because vinegar is an acid (source).

Pure apple cider vinegar has a pH 2.

pH of pure apple cider vinegar

Here is the pH of 2 tbsp vinegar diluted in a cup (250ml) tap water.


Pure lemon juice:


2 tbsp lemon juice diluted in a cup (250ml) tap water is slightly more acidic than 2 tbsp of vinegar diluted in a cup of water.


But when you dilute 2 tbsp of lemon juice in 2 cups of water you get a pH of about 3.5 - 4.


Edit: If you insist on getting the pH of your lemon juice rinse to 4.0 you can dilute 1 tsp lemon juice in 450ml tap water, which is roughly 1 3/4 cup.


In conclusion

The reason for using an acidic hair rinse is that it helps our cuticle scales to lie as flat as they can so they won't be torn off or won't allow stuff to pass into our hair shaft. In that sense, a vinegar or lemon juice rinse works toxic-free magic for a considerably less amount of money than the conditioner you can buy.

As you can see from the pH tests, lemon juice is a tiny bit more acidic than vinegar,  but it has the same qualities. There is no documented danger of using it as a hair rinse.

One thing worth noting is that lemon juice will lighten your hair in direct sunlight.

If you dislike the smell of vinegar, I have a solution for you!

Add some dried rosemary or rosemary essential oil to the bottle of vinegar that you're using and the smell will be gone. (thanks to Beth Terry for this tip)

Have you tried rinsing your hair with lemon juice or vinegar? What's your experience?

19 April 2014

Simple Living Rabbit: The Yawn

Does he get tired running in the garden? You bet! A yawn from Muffin Rabbit on a lazy sunny Saturday.


Read more about the adventures of Muffin, the simple living rabbit.