Showing posts with label reduce reuse recycle. Show all posts

22 February 2013

Keeping in Touch: the Inspiration Care Package


This post is written by contributing author Anabel Bouza.

As someone who has been moving around a lot, I lament the fact that I'm often leaving new friends behind. Oh, the heartbreak of creating friendships, just to say farewell...

Of course, I try to see the positive: I have friends in far places! As long as they're there, I can still call that place, home. Another good thing to result from this: it forces me to come up with fun ways to keep in touch.

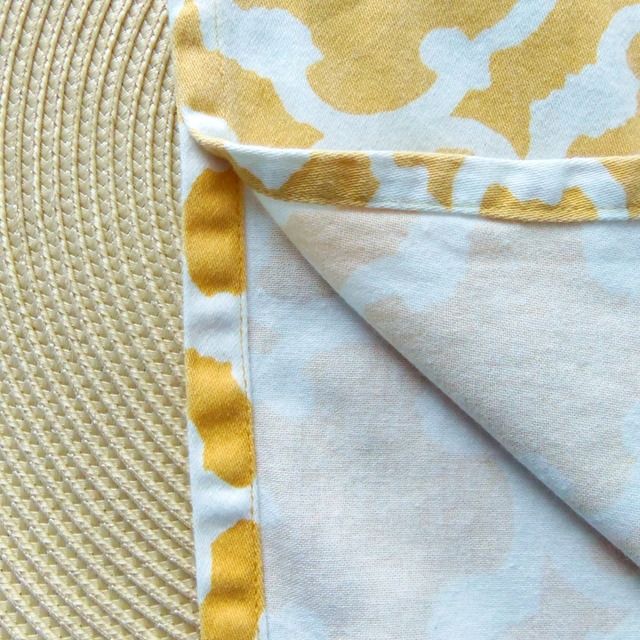
That's how I arrived at the idea of the inspiration care package.
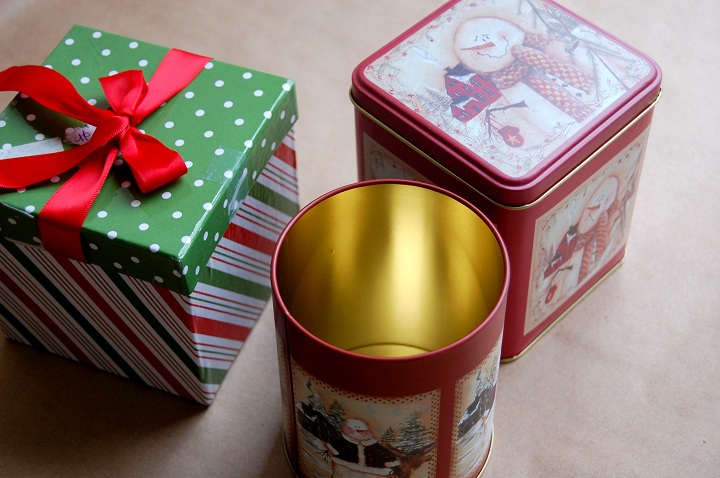
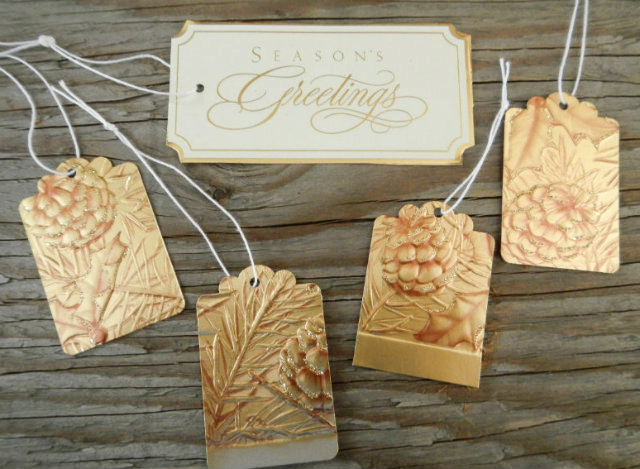
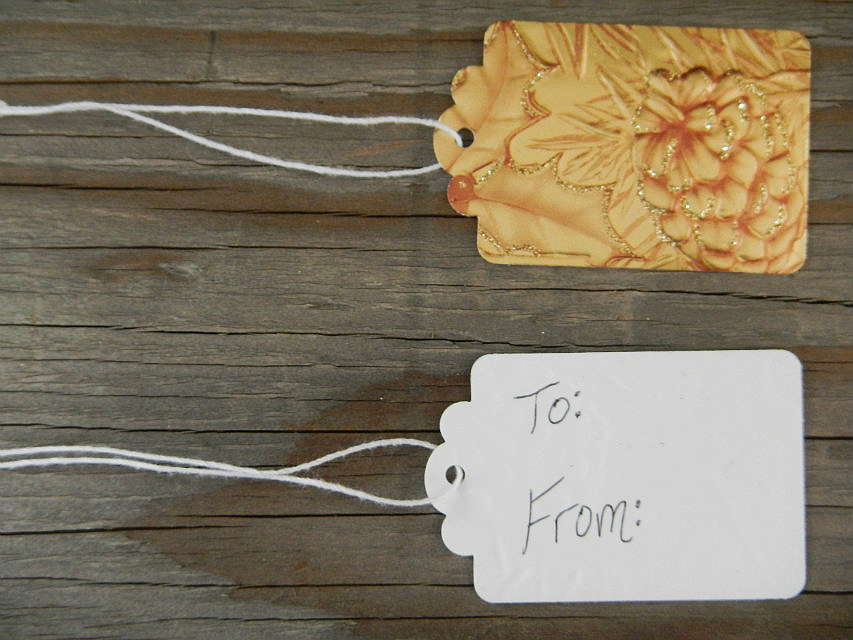
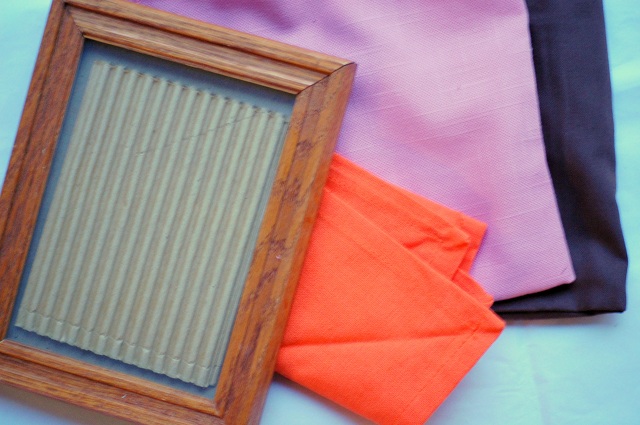
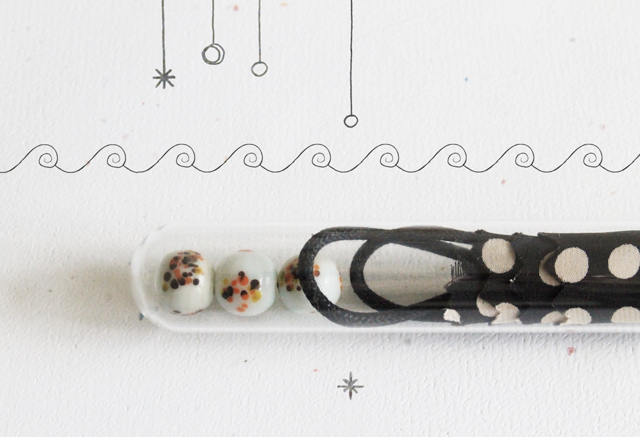
Photo: Anabel Bouza

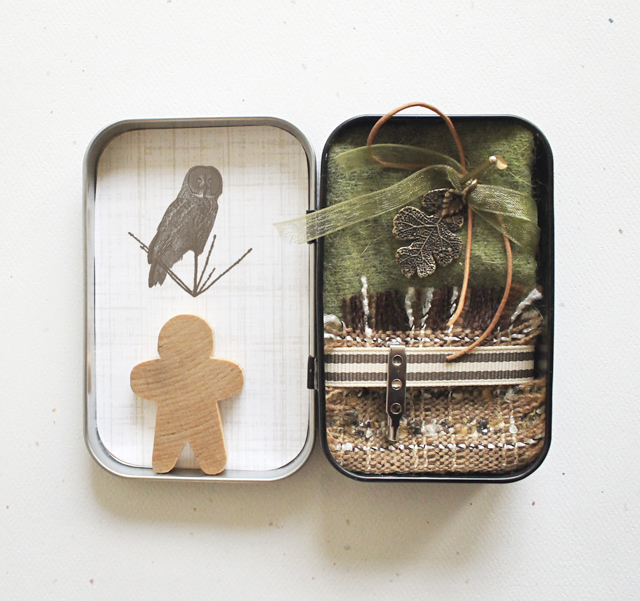
All you need is a small tin can or similarly lidded, light-weight receptacle. As to the contents, the possibilities are endless. Some of my own ideas so far:

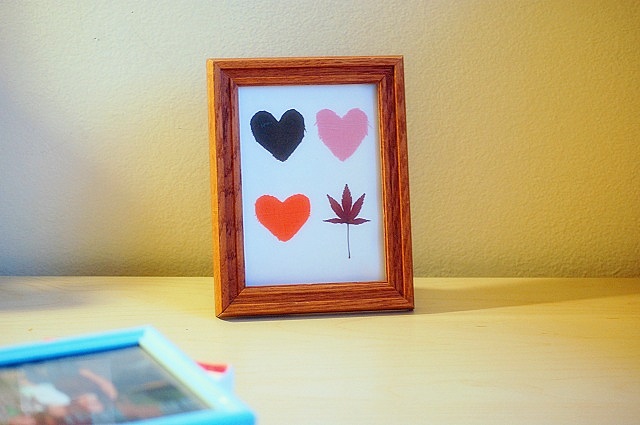
  • A mini-project in a box: all the materials needed to create a brooch, necklace, bookmark, or whatever you can fit within the container. 
  • A miniature stationery set: tiny pencil, pretty paper, ribbon, wax and seal...
  • A small diorama or collage, to be finalized by the person who receives it.
  • A tiny embroidery project. Include the pattern — even better if it's relevant to the person receiving it — needle and thread, even a tiny embroidery loop if it fits.
  • It could also be just a miniature collection of beautiful textures and colors, visually stimulating. Almost like an amulet to keep inspiration flowing!
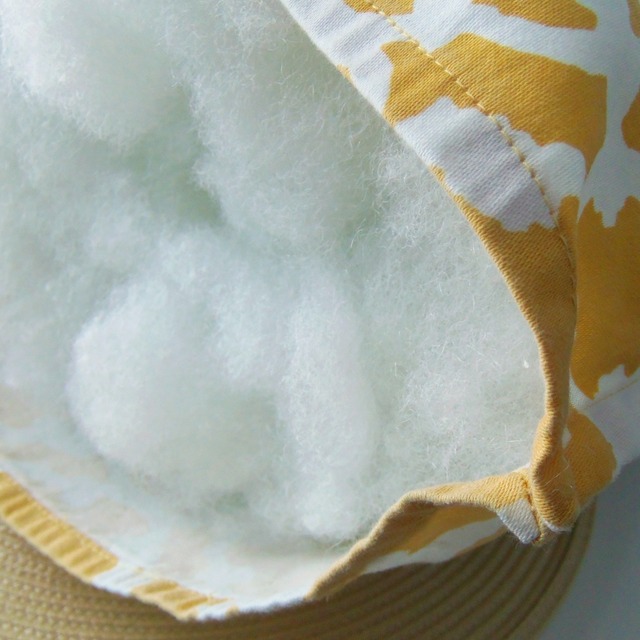
I've been hoarding buttons, paper, and fabric my whole life, so I have more scraps and notions than the average human — although I suspect many of you are in the same situation. You're not? Well, don't feel discouraged! Just head into the world (or your cabinets) with a gatherer's mindset.
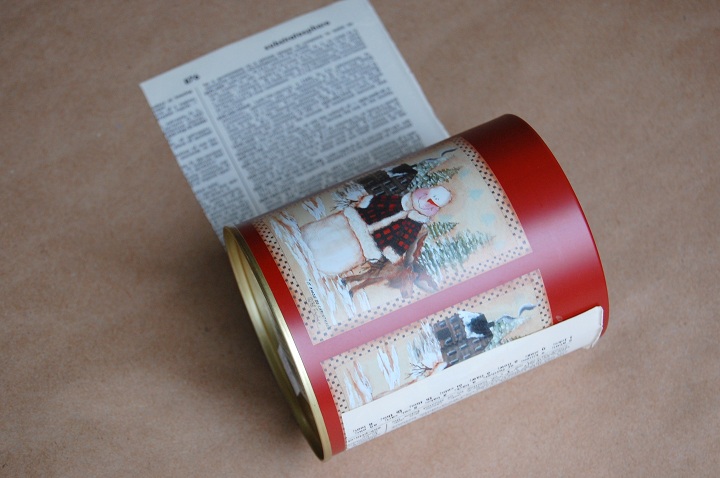
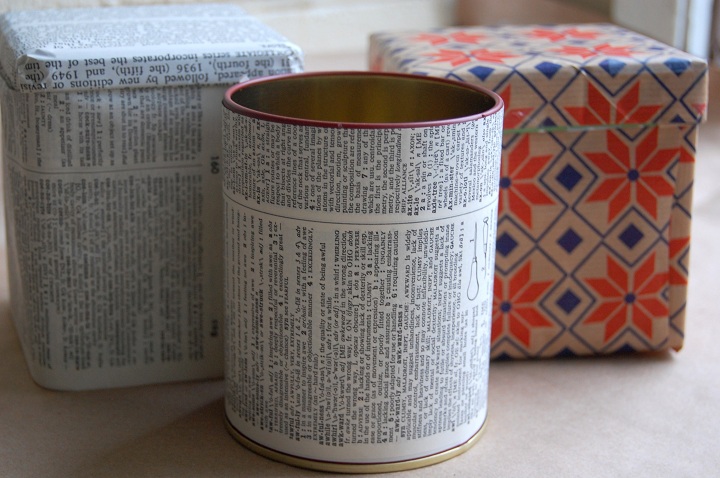
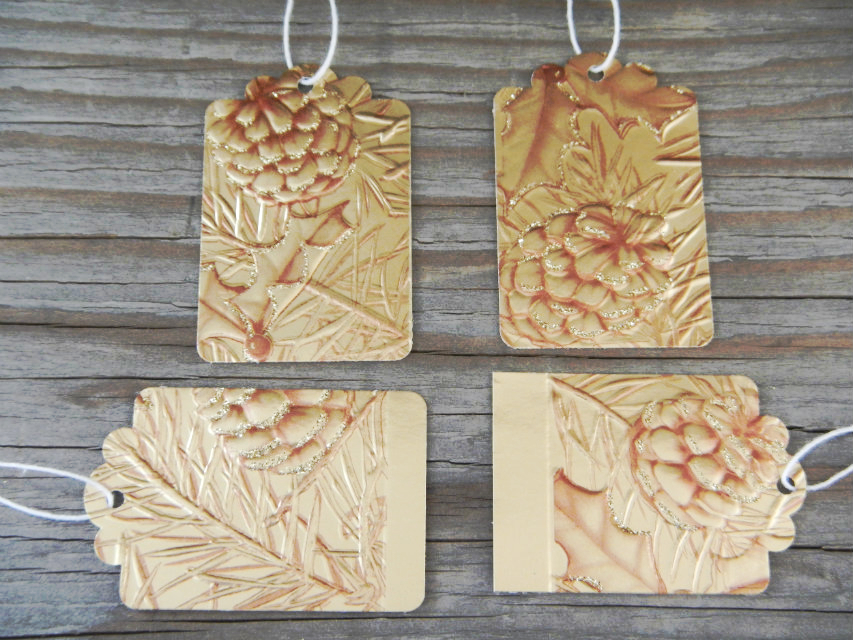
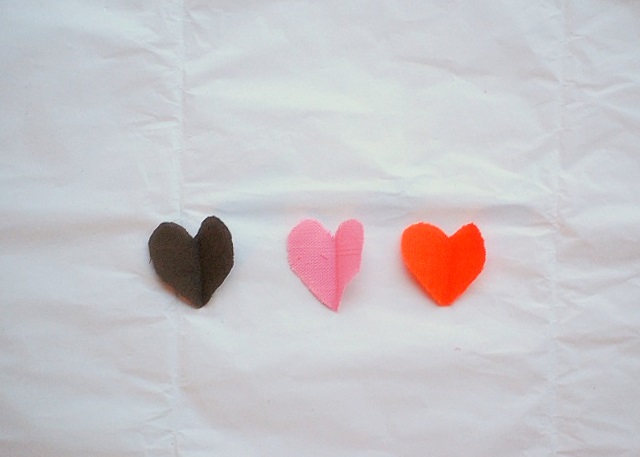
Photo: Anabel Bouza


Keep an eye out for graceful twigs, cool looking train tickets, blown out christmas bulbs... Any strange little thing can become treasure!

I can almost hear the collective gasp coming from the minimalist's corner! As long as you're making care-packages with your finds, they can't accumulate and weigh you down. Actually, this may be a good way to finally do something with all the random bits of beauty you already call clutter.

I would love to know what other people do with their scraps — those too small to use in your work, yet too precious to discard.

Would you like to be at the receiving end of an inspiration care package, or would you see it as 'homework'? 

This post is part of Listen to Your Heart month on Kanelstrand. Read the rest of the posts here and join in the discussions, we'd love to know what you think!


Anabel Bouza insists there's powerful magic in the action of creating something out of a vague vision, a chill of inspiration. She is an illustrator with a passion for nature, paper manipulation, and pointing her camera at things.

Her appreciation for simplicity dates back to a former life in Cuba - her strange homeland - where she refined the ability to see the alternative uses of common objects, and the enchanting side of things. She's often found blogging as
Weird Amiga, hard at work in her sunny studio, or staring at things as if looking at them for the first time. Her tiny family is comprised of her husband & a turtle; they're new to the city of Chicago, and they love it. Connect to Anabel via facebook and twitter.


12 January 2013

Weekend DIY: How to Upcycle a Book Into a Clock


This post is written by contributing authors Vivid Please.

Ok ok, I didn't kill a book. I simply gave it a new purpose in life!
DIY 9 how to turn a book into a clock make use of old books awesome diy tutorial up-cycle recycle remade make handmade paper easy home
I adore books, big ones, small ones, ones with amazing covers... but sometimes you run out of space and can't keep them, especially if you don't plan on reading them again. But what happens when you find a book you can't bear to part with because of its cover? Well, I'm glad you asked...

Upcycle it into a clock!
DIY1 up cyled book project recycle cp-cycle book clock diy tutorial handmade ideas home
Sometimes the simplest things in life bring the greatest pleasure. Time flies when reading a good book, so why not turn that enjoyable time into a fabulous clock? All you need to make your own is an old and enjoyed book, a brush and glue, a drill, scalpel and a clock mechanism. You can get these off ebay really easily for only couple of quid too. 
DIY2 ideas ways what to do with old book vintage home inspiration shabby chic fun project kids children bedroom office nursery accessories decoration gift
To start, we'll need to glue the book closed so it doesn't flap about. We did the same thing when we showed you how to make the Hollow Stash Book and it works a treat. Begin by cling filming the front and back cover of the book so it doesn't get glued.
DIY3 mod podge pva glue project tutorial ideas easy fun kids books clock home idea tutorial cheap
Then use your mod podge or pva glue to stick all the pages together. Once you've given it all a good coating, place it under some heavy books so it dries flat. The glue will go clear when it's dry, so don't worry if it's a little messy.
DIY4 unusual unique hand made home made clock ideas shabby chic office library book lover book worm writer gift valentines surprise fun
When it's ready you'll need to check the depth of your book with the clock part. This little novel is perfect as I don't need to cut a well into the back so it fits. Should you find your book is too thick, measure the size of the backing and cut into the back of the book the same way we did for the stash book. This will make the backing sit more flush and let the front fit through properly.
DIY cute fun ideas for home reader writer diy up cycle recycle vintage books old book drill clock glue
To put the main clock post through the book you'll need to drill it. Start by clearly marking the middle of the book (where you want the center of the clock hands to sit) on the first page. We'll be drilling the pages first and finish the cover later, so just ignore it for now.
DIY trendy new quirky ideas for home office studio bedroom easy tutorial diy simple cheep book project how to make a clock ideas inspiration
The best way to drill a hole is to start with a small drill part and work your way up. As you'll be pressing down through the book to make a hole, you'll need to do it on something you don't mind getting a hole in it in case you go too far! Some old magazines will do the trick should you not have a proper workspace. Make sure to stop frequently to check how deep you've gone.

Work your way up the drill parts till you've made a hole with a big enough diameter to fit the clock post through. This part takes the longest, but it's worth taking your time over - you don't want to make it too large or the clock mechanism wont fit.
DIY 7 how to up cycle recycle books make a clock build a clock

Next we need to put a hole in the front and back cover. Using the hole we just drilled in the book, use a pencil to trace onto the cover where your hole needs to be. Then use your scalpel to mark an X into the front and back cover.

DIY 8 cool clock ideas what to do with old books quirky diy project easy home school teacher projects build a clock
Now you can push the clock part through and all the mess is hidden! Brilliant, right?!

Finally, all that you need to do is screw on the washer and clock hands, slap in a battery and bob's your uncle. Coolest clock in town :D


What do you think? The greatest thing about this book clock is the cover - there in all it's glory and finally getting the attention it deserves! 

Hooray for being book-smart ;)

Enjoy!


Vivid Please are known as Vicky and David when they are not together, but to be fair, that is rarely the case. Forever collecting odd trinkets and pointing at cute dogs, they believe that happiness is found in the little things. Their etsy shop stocks everything from prints and stationery to bags and accessories, everyday life has never seemed so fun! You can keep up with them by following their blog Vivid Please where they share their awesome DIYs, cool design and fashion posts and, of course, lots of snapshots from their world of wonder. Connect with Vivid Please on Twitter and Pinterest


05 January 2013

Weekend DIY: Upcycled Holiday Containers


This post is written by contributing author Angela Hamilton. 

If you have extra tins or boxes lying around from the holidays, there may just be one more thing to wrap this season. Upgrade your gift boxes from seasonal to year-round use.
I never throw away my Christmas tins and boxes, but keep them in a large overflowing box of goodies. Instead of taking up more space in my almost nonexistent storage, this year I chose to redecorate the containers and use them as jewelry tins and candle holders. 
For this project, I chose to recycle dictionary pages. I keep an old dictionary that I found in a box of books outside my apartment complex one year so that I never run out of paper for projects. I never intended to throw the book away, so it’s even better if you can salvage paper-products that are doomed to the trash (or hopefully recycle), like newspaper or neutral gift wrap. 
The wrapping on the box is still a little reminiscent of Christmas, so I may need to swap it out for spring paper later on in the year. I prefer the uniqueness of the text on the tins. You'll never see the same definition twice!

Important notes: 
  • If you’re reapplying a lid, make sure the paper near the top is flat and secure, to avoid wrinkling. 
  • Use masking (or washi) tape on surfaces you might want to reuse later - I fully intend to peel back the paper next season and reuse these snowman tins for cookies!
  • If you plan to use as a candle holder, make sure the paper is on the outside only.

Happy wrapping!


Angela Hamilton is a writer and crafter from the Pacific Northwest, and a recent college graduate who blogs about creativity, her adventures alongside her Nikon, and her thrift-shopping, list-making lifestyle. She is currently striving to find a balance between working full-time in an office and following those distant dreams of writing and making things every single day. Her blog is Garden & Sea, and she runs both a vintage shop  and a crochet shop on Etsy. Connect with Angela on Twitter.


18 December 2012

Simple DIY: Upcycled Holiday Card Gift Tags


This post is written by contributing author Annie of Montana Solar Creations.

Every year thousands of holiday cards are sent around the world wishing family and friends a happy holiday season. Instead of throwing out the cards after reading them, repurpose them and create upcycled holiday card gift tags!

To start, find a holiday card that does not have any writing on the inside front flap.


To cut out the gift tags you can use a pair of scissors or a die cutter if you have one. I have a basic low-cost die cutter for gift tags from the local craft store since I make my own hang tags for vending. 

I used scissors to cut out the center design from the card and then used the die cutter to make several tags from the pine cone design. 

Once you cut out some shapes, use a hole punch to place a small hole to thread string or ribbon through to tie the gift tag to the gift.


On the back of the tags write "To:" and "From:" or your own personalized message.


Now the gift tags are finished and ready to be used!

How have you upcycled or repurposed items for the holidays?


Annie lives in western Montana with her husband, 15 month old daughter and two lazy dogs. Annie is a frugal, nature loving, simple living, work from home mama with an Etsy shop. She also blogs at MontanaSolarCreations where you can find DIY projects, real food recipes, natural living tips and stories about their outdoor adventures in Montana.


02 December 2012

Weekend DIY: Handmade Gift Wrap


This post is written by contributing author Angela Hamilton.  

Happy December! I couldn't be happier to present a post on gift wrap in the very beginning of this month. Are all your gifts ready for giving? Any of them?

Last weekend I scoured the local thrift shops for the perfect vases to purchase and paint for my mom's Christmas gift, and left Goodwill with a few. When I saw the cashier wrapping the glass in this large packing paper, I knew it would be used for wrapping my gifts as well. Later I came up with these decorated packages:
handmade decorated gift wrap
 I decided to wrap my rigid items with this paper as it's the perfect size. In the above photo, I used a foam sticker that I had no use for and stamped it in my ink pad for a sponge-like effect.
handmade confetti decorated gift wrap

To make confetti wrap, simply cut circles into tissue paper and use a hole-punch for smaller dots. Just dab glue from a glue stick lightly onto the paper so it doesn't wrinkle. I adorned my packages with simple kraft paper tags and cotton yarn.

use ric-rac for gift wrapping
Ric-rac is probably my #1 favorite supply for gift wrapping. Try a few thrift shops and you'll likely score some unique vintage sewing notions, including similar ribbon. I used to collect some from a shop in my college-town. The snowflakes are simply stamped right on the paper.
handmade decorated gift wrap

Other great ways to create your gift wrap yourself are by:
  • stamping with yarn (see a tutorial here); I wrapped yarn around a wooden stamp for the same effect,
  • cutting different shapes with tissue paper,
  • using lace trim as ribbon,
  • adding secondhand ornaments or embellishments to your gift box or bag.

Have you made your own wrap this year? Leave a link in your comment to inspire others! Happy holidays!


Angela Hamilton is a writer and crafter from the Pacific Northwest, and a recent college graduate who blogs about creativity, her adventures alongside her Nikon, and her thrift-shopping, list-making lifestyle. She is currently striving to find a balance between working full-time in an office and following those distant dreams of writing and making things every single day. Her blog is Garden & Sea, and she runs both a vintage shop  and a crochet shop on Etsy. Connect with Angela on Twitter.


30 November 2012

25 Ways to Reuse and Repurpose Junk Mail


This post is written by contributing author Annie of Montana Solar Creations.

Reusing and repurposing junk mail has become a daily activity in our household. It has become a fun adventure to find new ways to reuse junk mail instead of just throwing it out. Junk mail fills our mailbox almost everyday: credit card offers, advertisements, catalogs, insurance offers, political ads and the list goes on.

25 ways to reuse junk mail
We cannot recycle paper in our area so we used to throw junk mail in the trash to be shipped off to the local landfill each week. Now we find all sorts of fun uses for junk mail. Each day when we check the mail, we search through the pile of junk mail and see what creative ways we can reuse it.


Here are 25 ideas for how to reuse and repurpose junk mail:

1. Make a paper airplane.

2. Coloring paper for kids.

3. Use blank sides of paper to print mailing labels.

4. Use colorful paper or catalogs for wrapping paper.

5. Crumple it up and use it for packaging materials.

6. "Free" child's toy. Our daughter loves playing with junk mail and it provides hours of entertainment.

7. Make upcycled beads for jewelry.

8. Use the blank sides for scratch paper or list making.

9.  Find colorful pictures and turn them into gift tags or hang tags for your products if you're a vendor.

make labels out of junk mail


10. Fire starter. Any newsprint junk mail we get is put into a crock by the woodstove with the kindling to use as fire starter.

11. Cut it into strips and use it as a bookmark.

12. Reuse the return envelopes that come in the junk mail but make sure to cover any bar codes on the front of the envelope.

13. Make your own envelopes from the paper.

14. Cut strips and glue them together to make a holiday count down chain.

15. Have children cut out pictures and shapes to make a collage.

16. Make a hand held accordion fan. This was a favorite for us over the summer!

how to reuse and repurpose junk mail


17. Use the paper and catalog pages for origami.

18. For Etsy sellers: Use blank sides of paper cut into small pieces to write a little thank you note to send along in a package.

19. Make holiday collage cards. Cut out pictures or shapes from the colorful
junk mail catalogs and make your own unique upcycled cards.

20. Cut out sewing patterns. I use this for patterns I print off the internet and ones I draw myself.

21. Lay down pieces of junk mail to cover the table or counter for protection when working on a messy project.

22. Cut out paper snowflakes. We like to pick the most colorful pages out of a catalog to make our paper snowflakes.

how to reuse and repurpose junk mail

23. Use blank sides for invoice lists. When I deliver products to shops I sell at in town, I take an invoice list written on the back of repurposed junk mail and the shop owners appreciate the creative repurposing!

24. Use blank sides of paper for recipe cards.

25. Make your own large size mailing envelope by having the blank sides of paper facing out and wrap clear tape around it for protection. We just received a package like this and can't wait to try making our own!

How do you reuse and repurpose junk mail?


Annie lives in western Montana with her husband, 15 month old daughter and two lazy dogs. Annie is a frugal, nature loving, simple living, work from home mama with an Etsy shop. She also blogs at MontanaSolarCreations where you can find DIY projects, real food recipes, natural living tips and stories about their outdoor adventures in Montana.


17 November 2012

DIY No Sew Pillows


This post is written by contributing author Adrienne  Audrey.  

The way you decorate your home is often an expression of your personality and personal style. It's fun to play around with home accessories and experiment with new home decor trends. Unfortunately home accessories like throw pillows can be very expensive. Making some fun pillows yourself is a great way to change up your decor from season to season without breaking the bank. But what if you can't sew or don't own a sewing machine? Not to worry, today tutorial will show you how to make cute throw pillows without a sewing machine! All you need are some cloth napkins and a glue gun!

Materials:
  • Two cloth napkins: The thicker the material the better. You can buy funky patterned cloth napkins for very cheap any where kitchen supplies are sold. You can also get some at your local thrift store or yard sale for a true eco friendly project.
  • Glue gun: Available at your local craft store or craft section of the discount department store. If you are working with children use a low temperature glue gun for safety.
  • Pillow filling, pillow forms or and old pillow: How you fill your pillow is up to you. You can buy stuffing for the pillow or insert an old pillow or pre made pillow insert.

Directions:
1. Lay your two napkins together wrong sides facing in.

2. Apply hot glue along the hem of the napkin and glue the two edges together

3. Continue to glue the napkins together but leave one side open

4. Insert your pillow stuffing or pillow into the pillow case you have made.

5. Glue the final edge together.


Because the cloth napkins are already hemmed there are no raw edges that can fray. 

Obviously, you cannot wash these pillow cases so you may want to choose napkins that are stain resistant. Once you tire of your pillows of they get dirty you should be able to pull them apart and then you can reuse the filling for another pillow or toss the napkins into the wash and reuse them for another project!  


Adrienne Audrey lives in Northern Washington on a farm with her husband and a menagerie of lovable animals. When she’s not blogging at Crafty Little Gnome, Adrienne can be found out playing in the garden, experimenting in the kitchen or working on a new craft project. Adrienne also sells handmade jewelry and accessories in her Etsy shop Adrienne Audrey Jewelry. Connect to Adrienne via twitter or facebook.


03 November 2012

Weekend DIY: Fall Fabric Wall Art


This post is written by contributing author Angela Hamilton.  

Welcome to November. It's hard to believe we are entering the holiday season. If you haven't spruced up a cozy space for the upcoming months ahead, now is a good time. I'll admit my walls show no sign of autumn, but with Thanksgiving, moving, and crafty evenings on my mind, I came up with this DIY wall (or shelf) framed artwork.
This is such a simple craft that it would make a great activity with the family. If you want to make your own version, you'll need:

  • Three pieces of scrap fabric for the hearts
  • An old or thrifted photo frame, mine is 5x7"
  • A piece of card stock
  • 1 real leaf to press into the frame
  • Some glue and scissors


I turned these old fabric place mats into my wall art. There are enough here for multiple hearts.

These are about 1.5" size hearts. I think my next move will be finding a frame large enough for hearts the size of maple leaves! All you do is add a dab of glue to each and adhere to a piece of card stock, along with your leaf, and slide it in!

I had a blast going out to find the perfect sized leaf... there were so many colors and shapes all over my back porch to choose from. It's a great excuse to get yourself out on that fall walk this weekend. 

What are your favorite autumn crafts? Share with us in the comments.


Angela Hamilton is a writer and crafter from the Pacific Northwest, and a recent college graduate who blogs about creativity, her adventures alongside her Nikon, and her thrift-shopping, list-making lifestyle. She is currently striving to find a balance between working full-time in an office and following those distant dreams of writing and making things every single day. Her blog is Garden & Sea, and she runs both a vintage shop  and a crochet shop on Etsy. Connect with Angela on Twitter.


06 October 2012

Weekend DIY: Recycled Newspaper Envelopes with Liners


This post is written by contributing author Angela Hamilton.

'Tis the season for correspondence! Okay, maybe not yet, but it's fast approaching. Making your own envelopes is a simple, inexpensive, and environmentally conscious way to personalize your letters, especially if you have cards that have lost their matching package. It's also a great addition to a store-bought gift to make it a little more unique. This project can take ten minutes or a whole afternoon, depending on whether you want just one or have an event that requires thank-you notes or invites.

Newsprint is popular lately and using paper bags as liners gives it that whole eco-friendly look while actually being 100% recycled. Many of the craftier types of people have made their own envelopes, but adding a liner offers possibilities with material and print. Those who are a little less of the do-it-yourselfer will find that it's one of the easiest paper crafts there is.

The best part is - this project cost me nothing to make.

DIY: Recycled Newspaper Envelopes with Liners


You will need:
  • Newspaper or other paper from your recycle bin
  • Glue (I used the bottle but a glue stick helps keep things smooth)
  • Scissors
  • A paper grocery bag (I only needed one to make several envelopes)
  • An already-made envelope
  • A pencil to trace your template
I chose to use an envelope I had in my paper stash from long ago. You could also make your own template if you don't have a particular size in mind, just as long as each of the four pieces around your rectangle overlap enough to be adhered together.

DIY: Recycled Newspaper Envelopes with Liners


Carefully undo each piece of your envelope and trace around it with a pencil. For an A1 size, 1/4th of a sheet of newspaper is plenty. Because the newspaper is so thin, you can cut multiple envelopes from the same outline. Then fold the sides over, dab some glue on their bottom edges, and fold over the bottom flap.

DIY: Recycled Newspaper Envelopes with Liners


You can use that as a template - outline the envelope with only the top flap open to create your liner. I chose to have the text/graphics face down. Using a grocery bag is great because it provides an almost card stock like paper that gives your envelopes stability.

DIY: Recycled Newspaper Envelopes with Liners
Glue along the edges of the top of your liner (the triangle), slide into the envelope, and press down.

DIY: Recycled Newspaper Envelopes with Liners

Make sure everything is lined up, smooth out unwanted wrinkles (I didn't do a great job of that), and now you have your envelopes! My favorites have the large black and white photographs and crossword puzzles.

Do you like the newsprint and paper bag combination?

[Photos by Angela Hamilton]

Angela Hamilton is a writer and crafter from the Pacific Northwest, and a recent college graduate who blogs about creativity, her adventures alongside her Nikon, and her thrift-shopping, list-making lifestyle. She is currently striving to find a balance between working full-time in an office and following those distant dreams of writing and making things every single day. Her blog is Garden & Sea, and she runs both a vintage shop  and a crochet shop on Etsy. Connect with Angela on Twitter.