21 February 2014

How to Whiten Your Teeth Naturally

Unpleasant as it is, as the years progress, our teeth tend to lose their pearly white color for a yellowish tint that is not as attractive and is a sign that something is wrong.

Luckily, there are a number of things we can do to prevent our teeth from discoloring. There are not only ways to prevent it,but  there are also many ways to bring back the white and get that perfect smile everyone wants.

Teeth are made up of 4 tissues:
  • enamel -- the strong white covering that protects the tooth
  • dentin -- a hard yellow material that carries nerves; supports the enamel
  • pulp -- at the center of the tooth and contains blood and lymph vessels
  • cementum -- covers the root of the tooth.
According to Health Ambition, when it’s at its thickest, tooth enamel is naturally white. As it is worn down it becomes translucent and starts to show through to the next layer of the tooth called dentin.

The dentin layer has a naturally yellower tone than that of the enamel that covers it, so the thinner the enamel layer becomes the more yellow the teeth will appear. This is why many elderly people have relatively yellow teeth. The longer you’ve had your teeth, the more chance you have to wear down their white protective coatings.


Why do teeth get yellow? 

There are many reasons for your teeth to get yellow. Apart from genetics, the color of your teeth depends on diet, smoking, medications, dental cleaning routine, trauma, etc.

Some times, the reason for discoloring teeth enamel are the acids in certain foods and drinks that wear away your teeth’s white enamel coating. Soda for instance is highly acidic and regularly leaving it sitting on your teeth can start to wear down their protective outer layer.

Other times, the reason is in the foods and drinks that stain the teeth directly when consumed. Some of the most staining foods are:
  • Black tea,
  • Red and white wine,
  • Soda and sports drinks,
  • Fruit juices,
  • Sweets,
  • Certain fruits and vegetables.

Before I continue with the top 5 natural ways to whiten your teeth, here is the most important thing you should do to prevent your teeth from discoloring:
After each meal, have a big sip of water and swirl it around your mouth to clear away any acids or staining compounds.

The following natural remedies focus on whitening teeth, but keep in mind that actively strengthening enamel is just as important so you can keep it from breaking down further.

5 natural remedies for teeth whitening

Coconut oil
In a recipe found on +Everydayroots I learned that coconut oil can be used to whiten teeth. The lauric acid in coconut oil can rid your teeth of bacteria found in plaque that can make them yellow. It also promotes gum health, and help keep your breath fresh. Coconut oil is not only great for whitening your teeth but it also effectively inhibits the growth of harmful bacteria that can cause cavities and mouth infections, without causing any harmful side-effects.
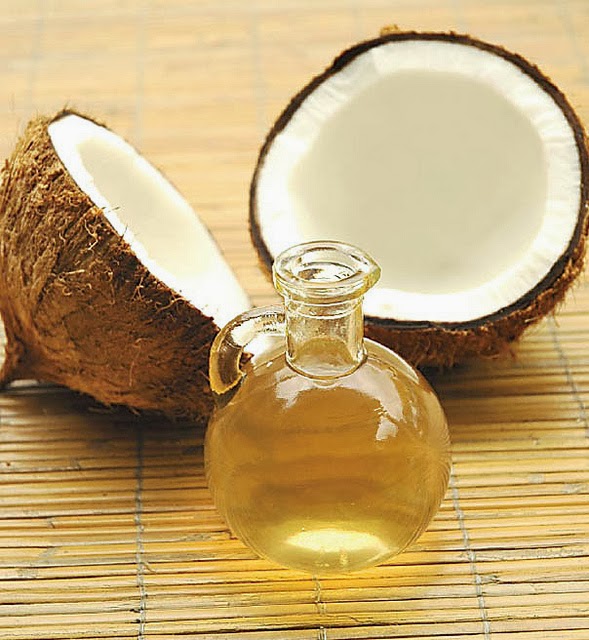
How to whiten your teeth with coconut oil
Photo: Phú Thịnh Co

How to apply:
Claire suggests that before you brush your teeth, you should scoop out a tablespoon of coconut oil. You can either soften it, or just put it in your mouth. Push, swish, and “pull” the oil through and around your teeth for 10-15 minutes, then spit it out, rinse with water, and brush your teeth.

Baking soda
Baking soda (which you should never use to wash your hair with) is a mild abrasive which effectively removes stains caused by tea, coffee, cigarettes, etc. You can use the following mixture up to 3 - 4 times a week.

NB! Although there are some suggestions to mix the baking soda with lemon juice, don't do this. The acidity of the lemon might permanently damage the enamel of your teeth.
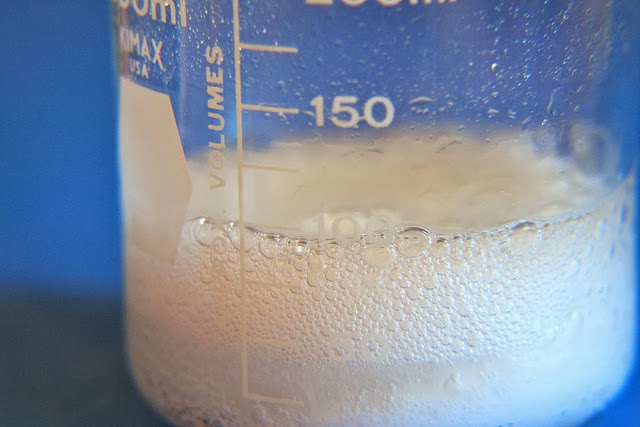
How to whiten your teeth with baking soda
Photo: Kate Ter Haar

How to apply:
In a small cup, mix half a teaspoon of baking soda with half a teaspoon of water. Mix to form a paste. Dip your toothbrush into the cup, to cover the bristles with the baking soda paste.

Brush your teeth as you normally would for no longer than two minutes, as baking soda is a mild abrasive and may begin to erode the enamel on your teeth.

Turmeric
Ever since I started dyeing my Easter eggs with turmeric I've known how irreversibly it can stain anything. But apart from being a powerful antioxidant and anti-inflammatory agent fighting against cancer, people swear their teeth got visibly whiter after a single use.
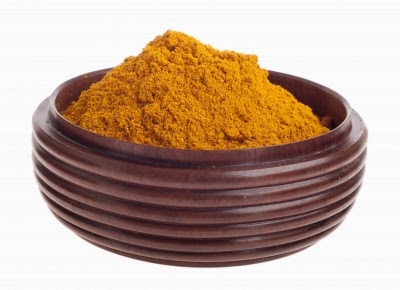
How to whiten your teeth with turmeric
Photo: FreeDigitalPhotos
How to apply:
Mix a teaspoon of dry organic turmeric powder with water just enough to form a thick paste. Then brush your teeth thoroughly.

Just remember that anything outside of your mouth that comes in contact with turmeric will be dyed bright yellow including the toothbrush. As suggested on Why Don't You Try This?:
Turmeric would also be great for oral hygiene, not just tooth whitening, because it is such a strong anti-inflammatory, which is good for the gums -- since 90% of people over the age of 30 have gum disease, and is also a strong antimicrobial, so it kill all those bag germs causing tooth decay and gum disease.

Charcoal
Activated charcoal (activated carbon) is made by processing charcoal with oxygen and either calcium chloride or zinc chloride. It was used medicinally by both Hippocrates and the ancient Egyptians, and it is still the poison remedy of choice in modern day emergency rooms because it attracts substances to its surface like a magnet. Like absorptive substances which work like a sponge, adsorptive materials bind with certain compounds and prevent our bodies from using them.

As stated on The Healthy Home Economist, activated charcoal locks onto tannins – the compounds found in coffee, tea (even herbal tea), blueberries, wine and spices like cinnamon that stain our teeth. It also balances the mouth’s pH and is even considered beneficial enough to be used in some tooth re-mineralization formulas.
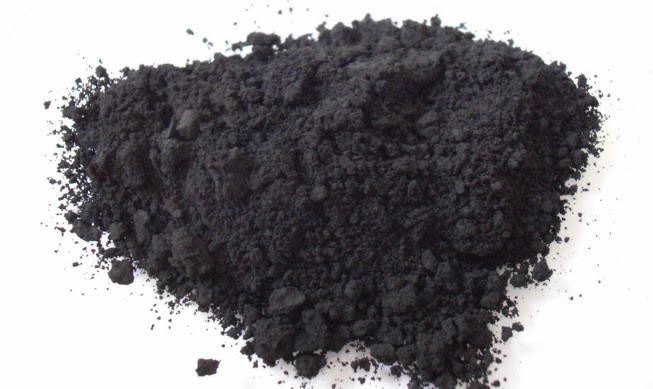
How to whiten your teeth with activated charcoal
Photo: Wikipedia

How to apply:
Dip your toothbrush in a small amount powdered charcoal, wet and brush for two minutes. After brushing, hold it in your mouth for 2-3 minutes to allow it to continue to work. Spit and rinse thoroughly, then follow with a second brushing using your regular tooth powder/paste.
After brushing, hold it in your mouth for 2-3 minutes to allow it to continue to work. Spit and rinse thoroughly, then follow with a second brushing using your regular tooth powder/paste.

Banana peel
Banana peels are not only doing a great job in healing your acne and removing the scars from your skin but using the exact same chemicals (potassium, magnesium and manganese) they can whiten your teeth as well.
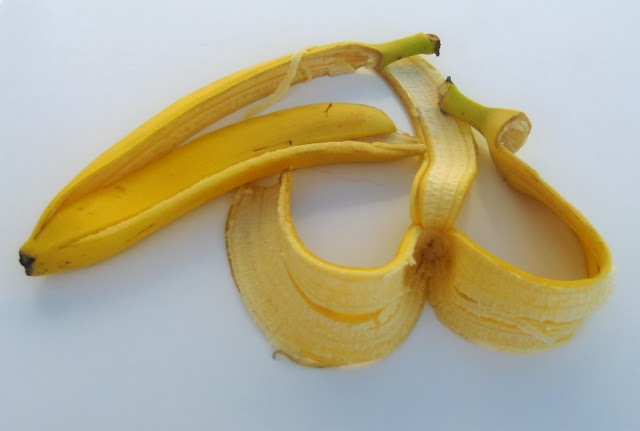
How to whiten your teeth with banana peels
Photo: Wikipedia

How to apply: 
Rub your teeth with the inside of a banana peel for about 5 minutes. Don't brush off, leave it like this for another round of 5 minutes. Rinse thoroughly and brush your teeth as you normally would.

These remedies might not get you ridiculously white teeth within a week but you will start to see a difference in the long run, and what is more, you will not be questioning the ingredients because you will know that they are absolutely safe and natural.

Real, toxic-free beauty takes time. There's no such thing as a healthy overnight transformation, so don't worry and take your time. Your teeth WILL get whiter.

Sources:
http://www.healthy-holistic-living.com/5-ways-to-naturally-whiten-teeth.html
http://www.organicauthority.com/delicious-beauty/8-chemical-free-secrets-to-whiter-teeth-naturally.html
http://wellnessmama.com/3662/best-way-to-whiten-teeth-naturally/
http://shine.yahoo.com/shine-beauty/banana-peel-whiten-teeth-put-test-160200414.html
http://everydayroots.com/teeth-whitening-at-home
http://www.healthambition.com/what-causes-yellow-teeth
http://www.thehealthyhomeeconomist.com/whiten-your-teeth-naturally-with-no-dangerous-chemicals/
http://www.naturalnews.com/041821_coconut_oil_tooth_decay_bacteria.html#ixzz2tiO0Y37a/041821_coconut_oil_tooth_decay_bacteria.html#ixzz2tiO0Y37a
http://www.organicauthority.com/delicious-beauty/8-chemical-free-secrets-to-whiter-teeth-naturally.html

19 February 2014

Homemade Shampoo Review: Coconut Milk and Aloe Vera

After 3 years of faithful no-pooing with baking soda I noticed that my hair has become brittle and dry, I did a pH test which proved that while I was saving my hair from toxic chemicals in commercial shampoo I was destroying it with the highly alkaline baking soda. Read more about the pH of baking soda and why you should not use it as a shampoo.

I set on a journey to find easy to make homemade shampoos that will not only replace baking soda but will also be pH balanced.

A few weeks ago I tested rye flour shampoo and was very excited with the results. Today, I decided to try a recipe with coconut milk and Aloe Vera that I found on Robin's blog, +Thank Your Body.

Homemade Shampoo: Coconut Milk and Aloe Vera

Benefits of coconut milk and Aloe Vera for hair
Coconut is rich in protein, vitamins and minerals, milk helps fight dandruff and dry scalp, it is also used against hair loss, it also promotes faster hair growth.

Since ancient times Aloe Vera has been used for treating dandruff and dry, itchy skin, Just like coconut milk, it is rich in vitamins and minerals, which are beneficial for hair and skin. It promotes moisture and shine in hair and is used in many conditioning products.

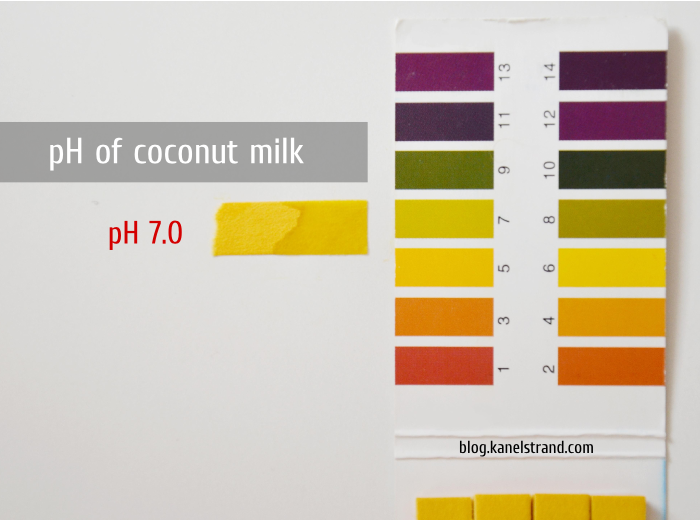
pH of coconut milk
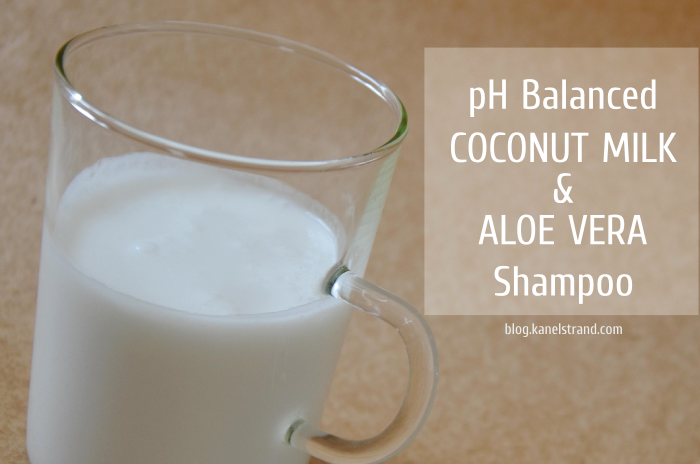
Before combining coconut milk and Aloe Vera I tested the pH of both ingredients. Coconut milk is neutral, it has a pH 7.0.
pH of coconut milk

pH of Aloe Vera 
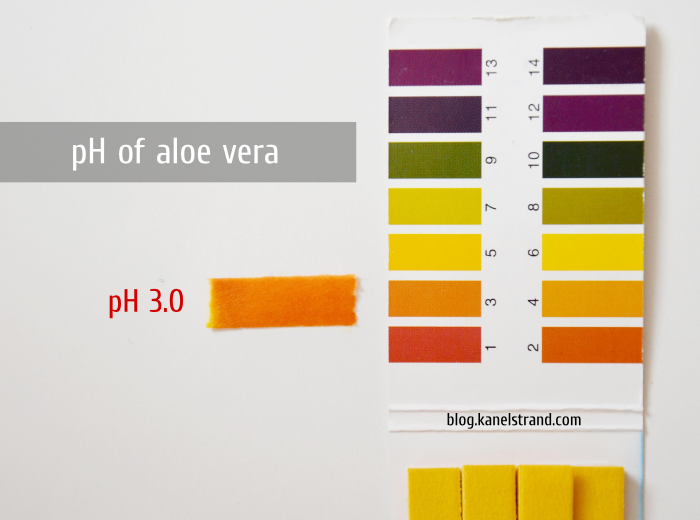
Aloe Vera,on the other hand is slightly acidic, with a pH 3.0.

pH of Aloe Vera


pH of Aloe Vera 
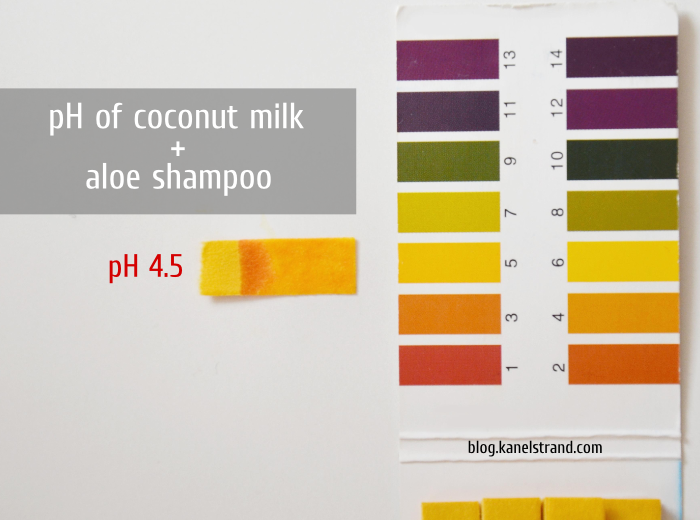
When I combined coconut milk and Aloe Vera in the ratio suggested on Thank Your Body, I got a pH balanced homemade shampoo. Take a look.

pH of coconut milk and aloe shampoo

As you can see, the test strip shows pH 4.5 which is just the same as the pH of hair.

Here is why the pH of shampoo is important for healthy hair: 
pH (potential of Hydrogen) is a measure of the acidity or alkalinity of a substance. pH is judged on a scale between 0 and 14. Anything with a pH less than 7.0 is acidic, 7.0 is neutral, and anything with a pH greater than 7.0 is alkaline.

Hair and skin are covered by a very thin fluid layer comprised of oil, salt and water, called the mantle, which is slightly acidic and has a pH balance of between 4.5 - 5.0.
The natural acidity of the hair and scalp prevents fungi and bacteria, and keeps the cuticle closed and healthy.
An inadequate hair product can disrupt the natural pH of the hair. If your haircare routine is too alkali your hair cuticles will stay open and your hair will be dry and brittle. But if you use pH balanced products, i.e. ones that are close to the natural pH of the hair (4.5 - 5.0) your hair cuticles will close properly which will result in healthy shiny hair.

pH balanced coconut milk and Aloe Vera shampoo recipe
This recipe is suitable for dry, dandruff-prone hair and scalp.

Robin's recipe at Thank Your Body calls for larger quantities of both coconut milk and Aloe Vera, which she then suggests to be stored in the freezer, which is a great idea but I wanted to make sure the shampoo works for my hair before I take the step to more of this shampoo.

Ingredients
  • 2.5 oz (75 ml) coconut milk
  • 3 oz (88 ml) Aloe Vera

Directions

  • Mix the coconut milk and the Aloe Vera well until there are no lumps left.
  • Apply on wet hair.

Coconut milk and Aloe Vera shampoo application

There's nothing special about applying this shampoo on your hair, just proceed as you would with any shampoo: apply on wet hair,
  1. Apply on wet your hair.and put some of the shampoo on your fingers. Massage into the scalp.
  2. Massage well into the scalp.
  3. Let it stay for a couple of minutes.
  4. Rinse generously with lukewarm water.
  5. As a conditioner use 1 tbsp. apple cider vinegar diluted in 1 cup of water. Tip: Grab a bowl to capture the ACV rinse and apply a couple of times more.
Effect of rye flour on hair
Unfortunately, the Coconut Milk and Aloe Vera shampoo left my hair feeling greasy. Actually, my face was greasy too and I had to use soap to clean it. I think the reason is the proteins in coconut milk, which I've noticed that my hair and scalp are not tolerant to.

This is the place to mention that I have a slightly oily hair and this might be the reason for the greasy effect.

That is why, I applied the same shampoo on my husband's hair, which is dandruff-prone and very dry and it had a wonderful effect.

Homemade Shampoo: Coconut Milk and Aloe Vera

Overall, I loved how easy this shampoo is to make, the smell and the properties of both coconut milk and Aloe Vera. It is easy to apply and has a pleasant smell. Although it didn't work well on my hair, I recommend it for dry, damaged hair and dandruff-prone scalp.

Have you tried washing your hair with coconut milk or Aloe Vera? What were the results?

Find more shampoo alternatives: 
Rye flour shampoo
10 ways to wash your hair without shampoo
5 Natural alternatives to toxic shampoo
7 Green ways to deal with static hair
The best treatment for dry hair
8 DIY hair treatments for dry, brittle and damaged hair
5 Natural alternatives to toxic shampoo
What everybody should know about shampoo
4 Natural remedies against dandruff
Herbal nourishing hair lotion

Sources:
http://www.stylecraze.com/articles/coconut-milk-for-hair-growth/#
http://www.thankyourbody.com/ph-balanced-shampoo-recipe/
http://www.livestrong.com/article/361851-vitamins-minerals-in-aloe-vera/
http://healthism.blogspot.com/2011/07/vitamins-and-minerals-in-coconut.html
http://en.wikipedia.org/wiki/Aloe_vera
http://www.nenonatural.com/3/post/2013/05/8-benefit-of-coconut-milk-for-natural-hair.html

14 February 2014

How to Deseed a Pomegranate and Other Kitchen Hacks

If you love to cook from scratch you sure have invented some kitchen hacks to save you time and effort. For example, I have my own special way of arranging the spice jars, so I can pick them without looking, and I peel the onions after I've soaked them in water for faster and easier results.

But one thing I've always had trouble with is deseeding a pomegranate. I do love to eat pomegranate when possible but the effort it takes to open and deseed it often reduces my appetite for it.

That is why I was super-excited to find a great way to deseed a pomegranate in just a couple of minutes. Take a look:


If you are a fan of kiwi but don't know how to peel it without loosing too much of it, here is another video for you.


If you are a potato lover like me, you have spent countless hours peeling potatoes, here is a quick tip to peel potatoes with your bare hands.


I am sure that most of you already know that the easiest way to peel a garlic clove is to squash it with the knife and then it comes right out of its papery peel but what if you need to peel more cloves? Here is a great way to peel 20 garlic cloves in 20 seconds.


And now, here is the coolest way to peel hard boiled eggs perfectly.


Now it's your turn. Share the kitchen hacks that have made your life easier!

11 February 2014

5 Super-Easy Tips to Keep Your Skin Hydrated During Winter

The winter months can be devastating to your skin regardless of your skin type or age. The low air temperature outside combined with low humidity result in drier air. Add to that an even drier air inside caused by heating and your skin is forcefully depleted of its natural lipid layer, which keeps it from drying out. It is no wonder then that it gets dry, flaky and itchy.

But with some green tips you can revive your skin and get that glowing healthy look it normally has in other seasons.

 5 Super-Easy Tips to Keep Your Skin Hydrated in WInter
Photo: Free Digital Photos

1. Stay hydrated by drinking water
People who drink relatively little water could see a significant benefit in skin hydration if they started drinking nine eight-ounce glasses of water per day. While drinking water will not miraculously moisturize the outer layers of your skin it will help keep it fresh and healthy.

2. Take short showers or baths, use luke-warm water
Ok, I know that the winter months are the time when you most need a hot shower but try to refrain from it! The hot water will dry your skin while a luke-warm shower will help it keep the moisture inside.

3. Apply a moisturizer right after you take a shower, preferably while your skin is still wet.
Apply a moisturizing lotion right after taking a shower while your skin is still wet to seal water into your skin, helping it stay hydrated longer. Choose plant-based oils like cocoa butter, aloe vera or jojoba to form a protective barrier over your skin.

4. Exfoliate once a week
Moisturizers work better on a clean exfoliated skin. Use a simple eco-friendly oatmeal scrub or  sugar face scrub to make sure you are not adding any carcinogens to your skin while you think you are cleansing it.

5. Take fish oil pills
Learn from the Vikings and take fish oil pills which are rich in Omega-3. Fish oil is beneficial not only to your skin but also to your hair, nails and bones. It has an added bonus of supplying you with enough vitamin D to survive the dark winter months without mood swings and to compensate for the shorter time you spend exposed to sunlight.

Maintaining glowing skin during winter is not hard. Just keep in mind that each season hides a different challenge to your health and beauty and remember to act accordingly!

Do you have a healthy secret to winterize your skin? 

This post was originally written and published on Green Living Ideas.

03 February 2014

Homemade Shampoo Review: Rye Flour

After 3 years of no-pooing with baking soda I did a pH test which proved that while I was saving my hair from toxic chemicals in commercial shampoo I was destroying it with the highly alkaline baking soda. Read more about the pH of baking soda and why you should not use it as a shampoo.

So I decided to find pH balanced baking soda alternatives that will help me and you keep our hair healthy while still being on the frugal and sustainable side.

Luckily for me, when I shared the findings of my baking soda pH test, Kanelstrand reader +Linnéa Ädel asked me to measure the pH of rye flour water.

I had no idea you could wash your hair with flour!

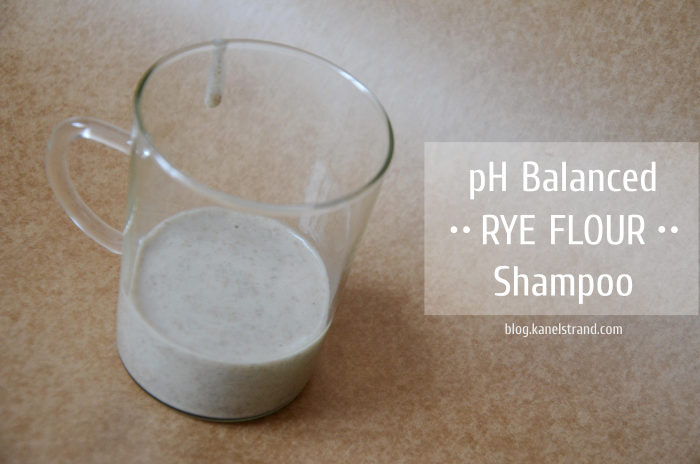
pH balanced rye flour shampoo

Benefits of rye flour for hair
Just take a look at the list of vitamins in rye:
  • Vitamin A
  • Vitamin B 1
  • Vitamin B2
  • Vitamin B3
  • Vitamin B6
  • Vitamin B12
  • Vitamin E
  • Vitamin K
  • Beta-Carotene
  • Lutein

Some of the hair-healthy minerals that can be found in rye are
Calcium, Magnesium, Potassium, Manganese, Selenium, and Zink, which all fight premature hair loss and promote healthy hair growth.

Rye also contains proteins, and Omega 3 fatty acids.

As you can see, rye is literally packed with vitamins and minerals that promote hair growth and keep it healthy.

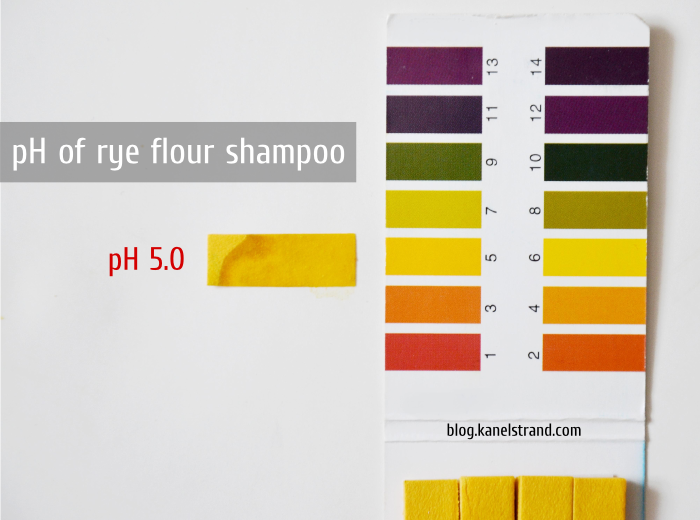
pH of rye flour shampoo
The pH test showed that rye flour shampoo is very balanced. Take a look.

pH of rye flour shampoo

As you can see, the test strip shows pH 5.0 which is just the same as the pH of hair.

Here is why the pH of shampoo is important for healthy hair: 
pH (potential of Hydrogen) is a measure of the acidity or alkalinity of a substance. pH is judged on a scale between 0 and 14. Anything with a pH less than 7.0 is acidic, 7.0 is neutral, and anything with a pH greater than 7.0 is alkaline.

Hair and skin are covered by a very thin fluid layer comprised of oil, salt and water, called the mantle, which is slightly acidic and has a pH balance of between 4.5 - 5.0.
The natural acidity of the hair and scalp prevents fungi and bacteria, and keeps the cuticle closed and healthy.
An inadequate hair product can disrupt the natural pH of the hair. If your haircare routine is too alkali your hair cuticles will stay open and your hair will be dry and brittle. But if you use pH balanced products, i.e. ones that are close to the natural pH of the hair (4.5 - 5.0) your hair cuticles will close properly which will result in healthy shiny hair.

pH balanced rye flour shampoo recipe
This recipe is suitable for all types of hair.

NB! The reason why rye flour is easy and messy-free is that it's low in gluten. Do not experiment with other flours, especially those rich in gluten, it will be really hard to take them off your hair. 

Ingredients
  • 3-4 tbsp. rye flour (you can adjust the amount according to your hair length)
  • some lukewarm water, enough to make it resemble the thickness of shampoo

Directions
  • Put the flour in a cup.
  • Add some water and mix thoroughly. Keep adding water and mixing.
  • Mix until there are no lumps left and the mixture is runny and resembles that of shampoo.

Rye flour shampoo application
Getting the rye flour shampoo on my hair was pretty easy because its consistency was just like shampoo. (If you feel like it's too thick for you, just add more water until you like it.)
  1. Wet your hair and put some of the shampoo on your fingers. Massage into the scalp. Focused on the scalp, massaging thoroughly and gently, the shampoo will cover the lengths of your hair when you start rinsing.
  2. Rinse generously with lukewarm water.
  3. As a conditioner use 1 tbsp. apple cider vinegar diluted in 1 cup of water. Tip: Grab a bowl to capture the ACV rinse and apply a couple of times more.
Effect of rye flour on hair
I was truly surprised at how clean my hair became after I first washed it with rye flour shampoo. It was soft and manageable without any residue. Having in mind how many vitamins and minerals there are in rye flour I am sure that in time my hair will be revived and will grow thick and healthy.

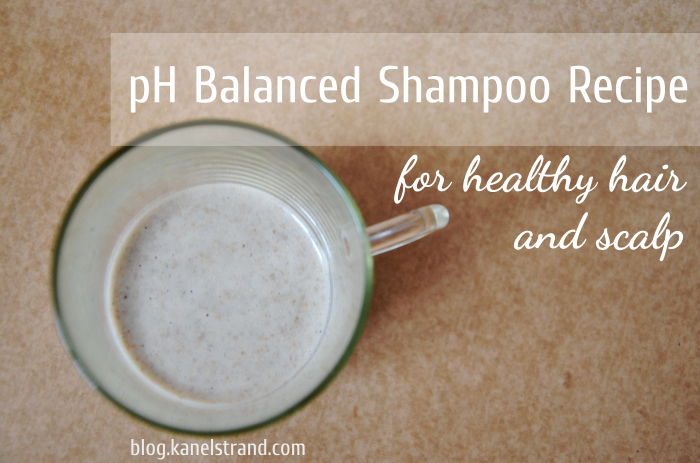
pH balanced shampoo for healthy hair and scalp


Find more shampoo alternatives: 
Homemade Shampoo Review: coconut milk and aloe vera
10 ways to wash your hair without shampoo
5 Natural alternatives to toxic shampoo
7 Green ways to deal with static hair
The best treatment for dry hair
8 DIY hair treatments for dry, brittle and damaged hair
5 Natural alternatives to toxic shampoo
What everybody should know about shampoo
4 Natural remedies against dandruff
Herbal nourishing hair lotion